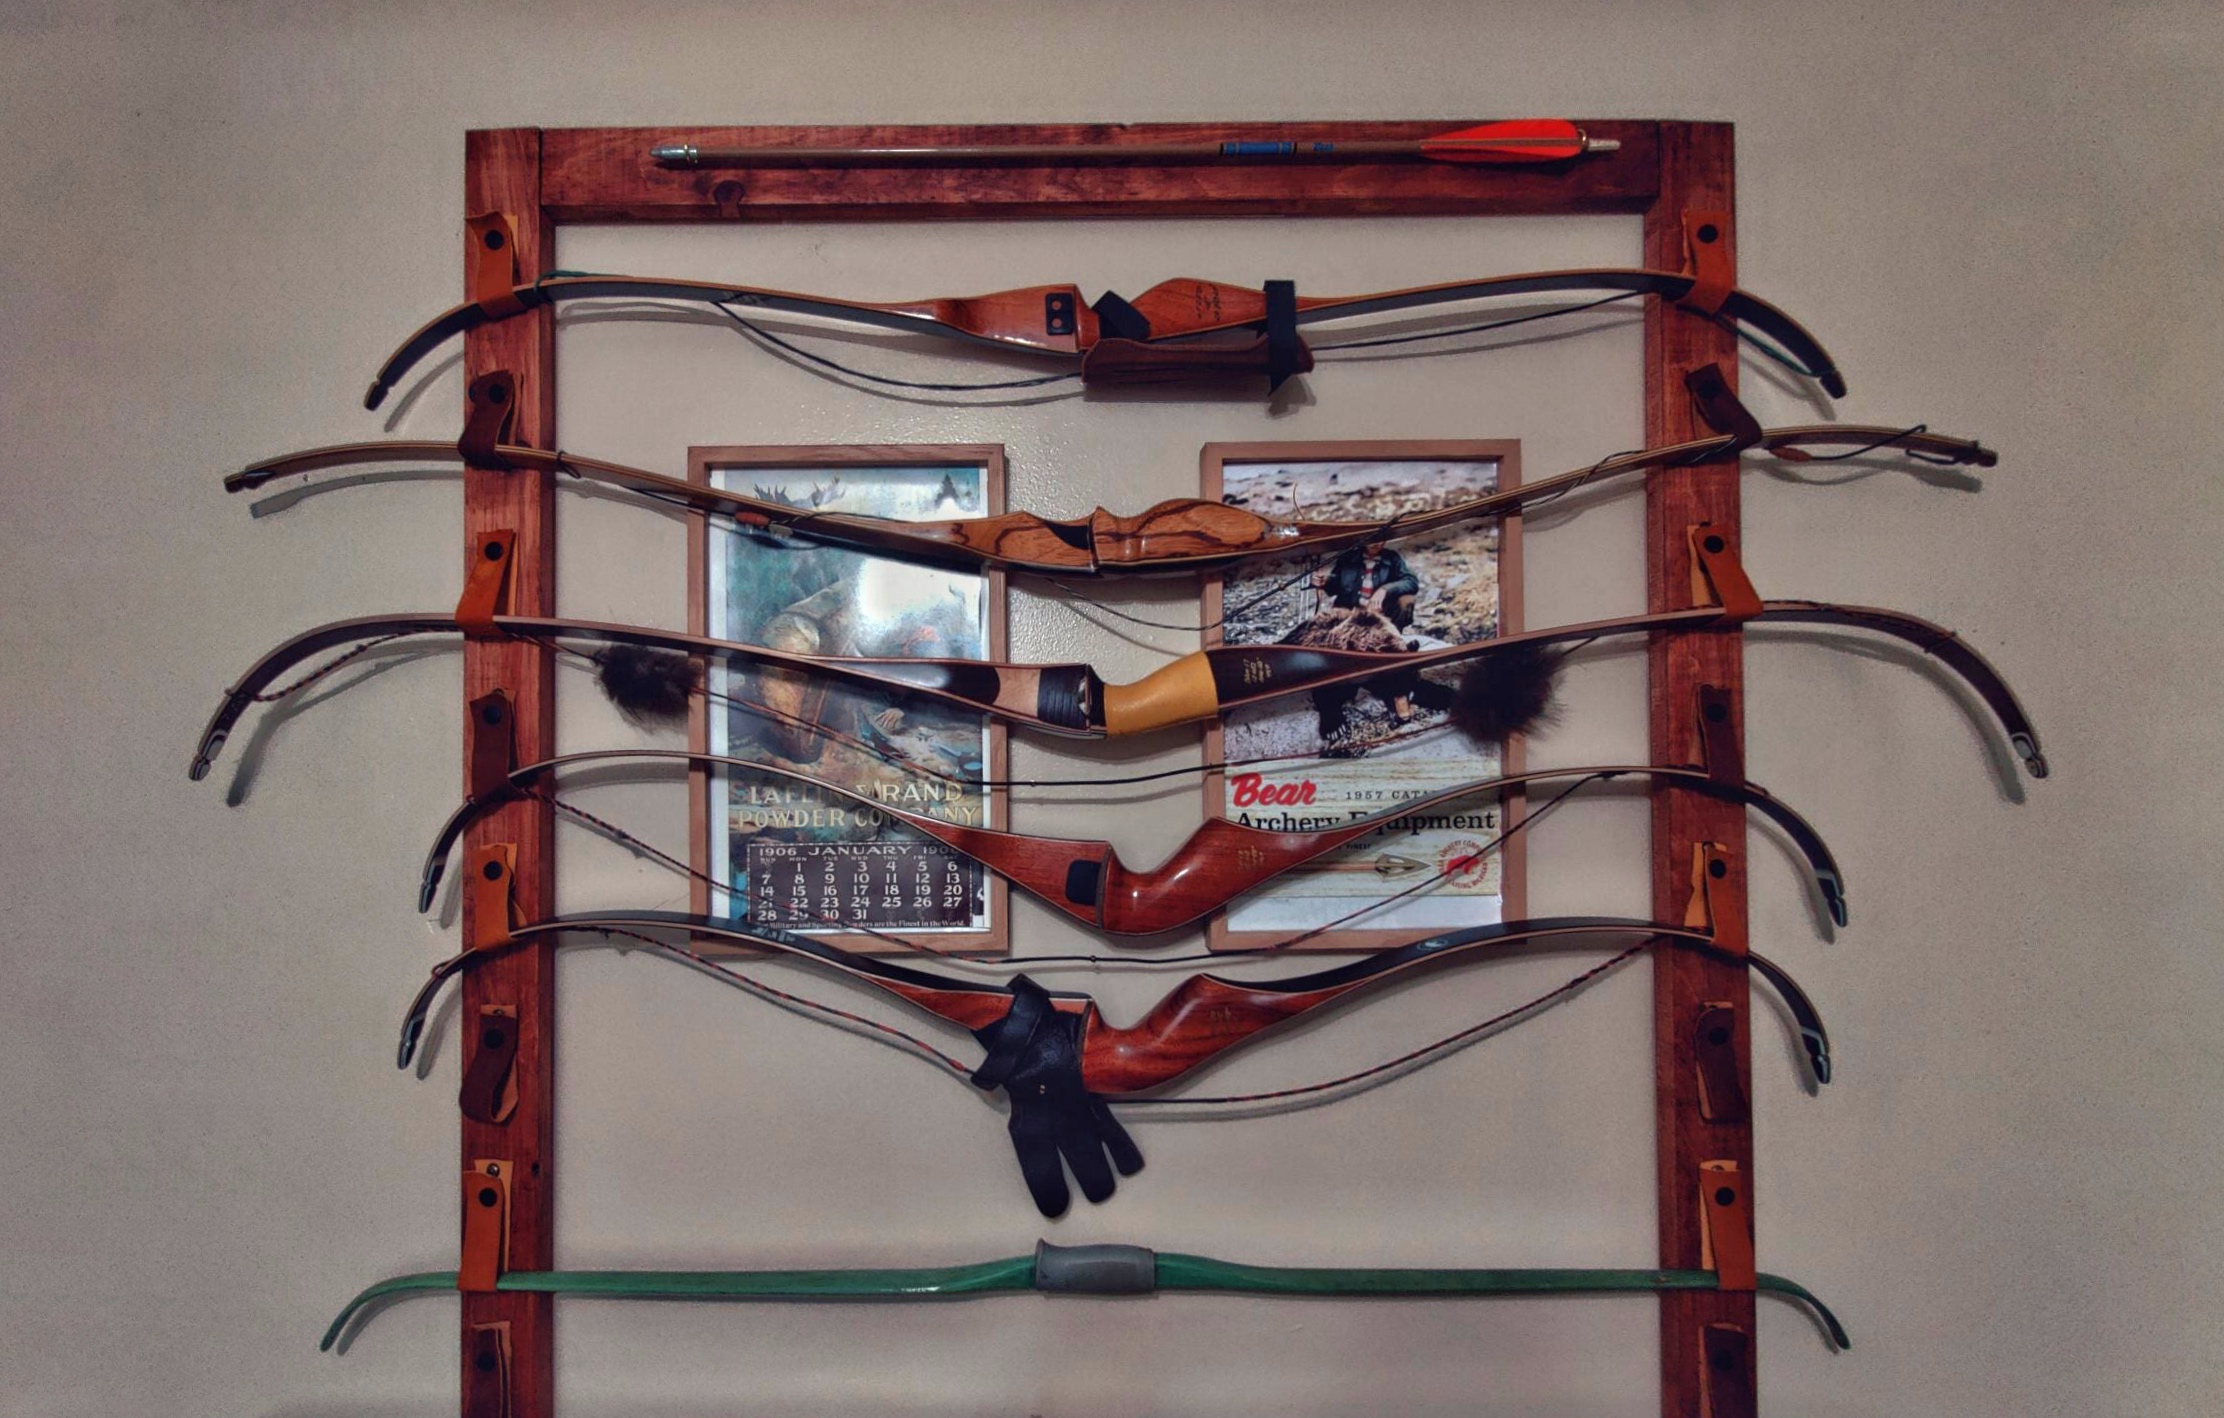
Like many bowhunters, the number of bows I own keeps increasing as the years pass. I stored them wherever I had extra room: under beds, on bicycle hooks, and in closets. For years I’ve procrastinated, saying I was going to buy a nice bow rack to get my traditional bows on the wall and display them for everyone to see. But after learning the cost of bow racks, I decided to come up with my own plans and build one. My husband and I designed the rack together. It’s a simple, classic design that’s also eye-catching. It costs under a $50 in materials and will only take a few hours to complete, though you will have to allow time for the stained wood to dry. Best of all, it keeps our bows off the floor and out of the closets. If you own multiple compound bows or a mix of compound and traditional bows, this plan will work for you too.
The Materials You Need to Get Started
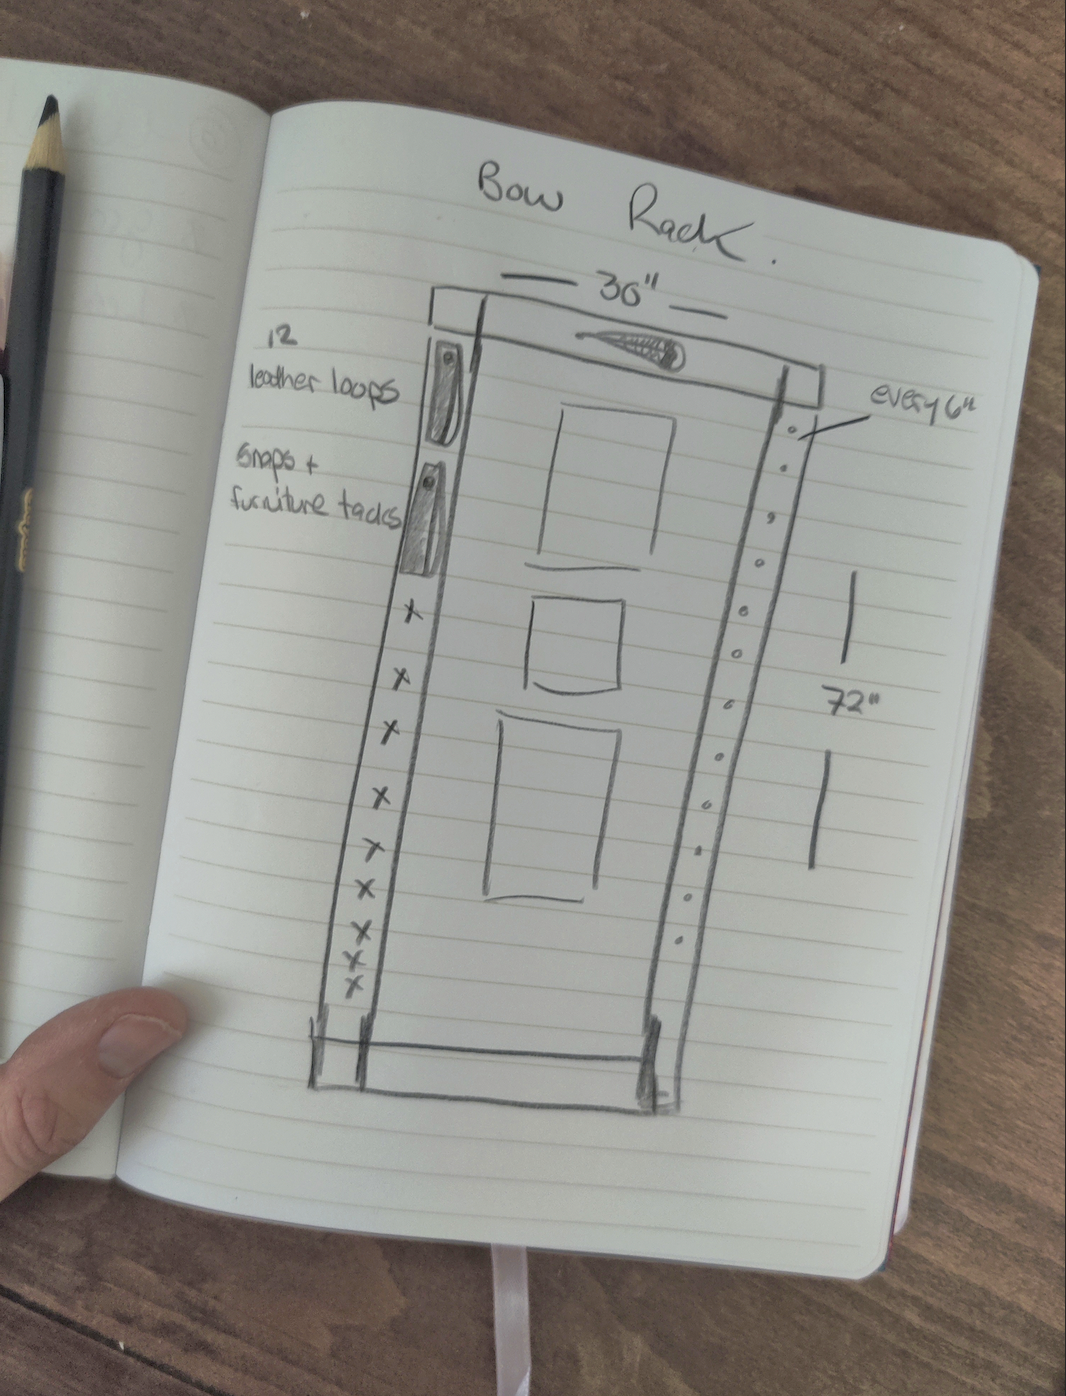
- Three 1-in. x 3-in. x 6-ft. wooden boards
- Minwax (or stain and clear coat of choice)
- Upholstery nails (I used two packs of 25, you’ll need two tacks per bow)
- Heavy duty metal snap fasteners
- Leather straps approximately 8-in. x 1-in., and two per bow (I used buckskin cut into strips, but you can use leather or any other sturdy fabric)
- Four L brackets
- Mounting device that holds the appropriate amount of weight you’ll be hanging on the wall
- Sandpaper, medium grit
Making the Right Measurements for the Bow Rack
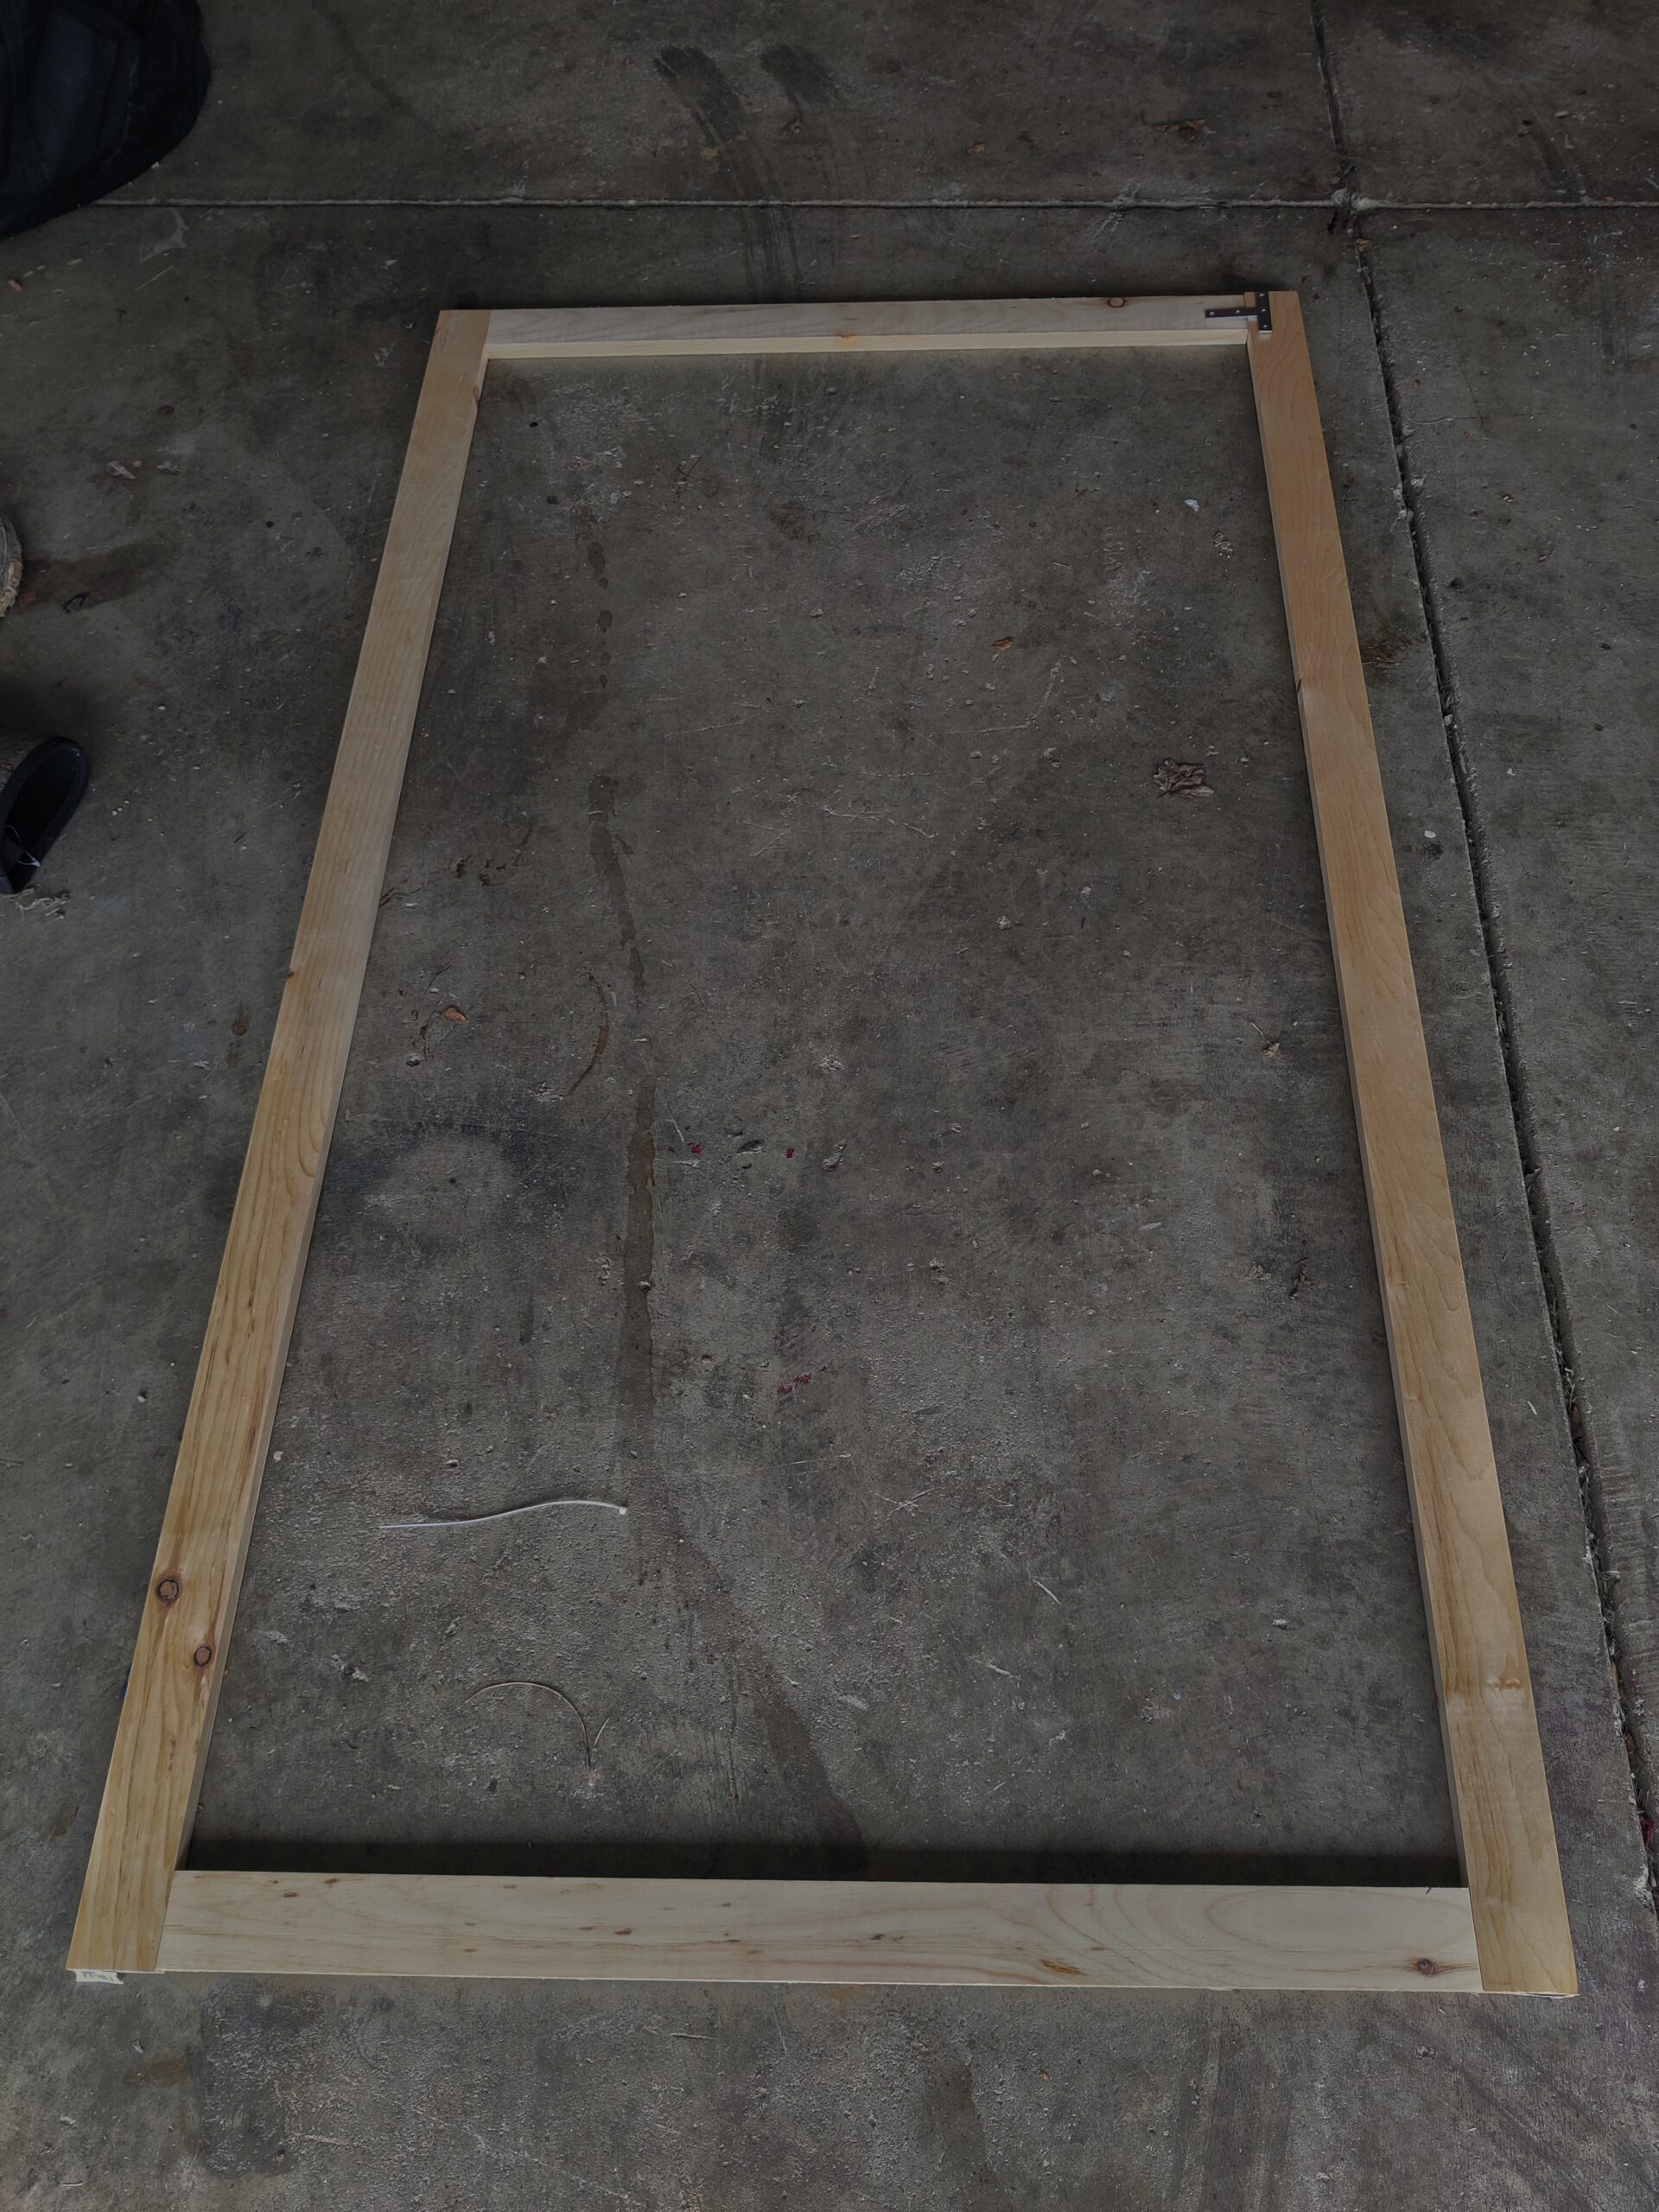
Once you’ve gathered your materials, the next step is deciding how many bows you want to fit onto your bow rack. For traditional bows, I left 5 inches of space between each set of hanging straps; for a compound bow, you need to leave at least 12 inches (if not more). Set the boards on the ground and take measurements so you know where the bows should be placed.
For my rack, I left two boards at full length (6 feet) and cut the third in half to create two 3-foot boards. Check that your bows will fit the frame that’s taking shape before you make any cuts, so that you can adjust the width accordingly. If you are making a rack for compound bows, you will most likely need the two horizontal sections of the frame closer to 2 feet, as compound bows are much shorter.
Arrange your boards to create a large rectangle. You can use a carpenter’s square to make sure that your frame is aligned correctly. Use your L brackets to secure the boards to each other, making sure they are flush, without any gaps between them. Center and secure your hanging bracket in place on the top board.
Prep the Boards for Stain and Varnish
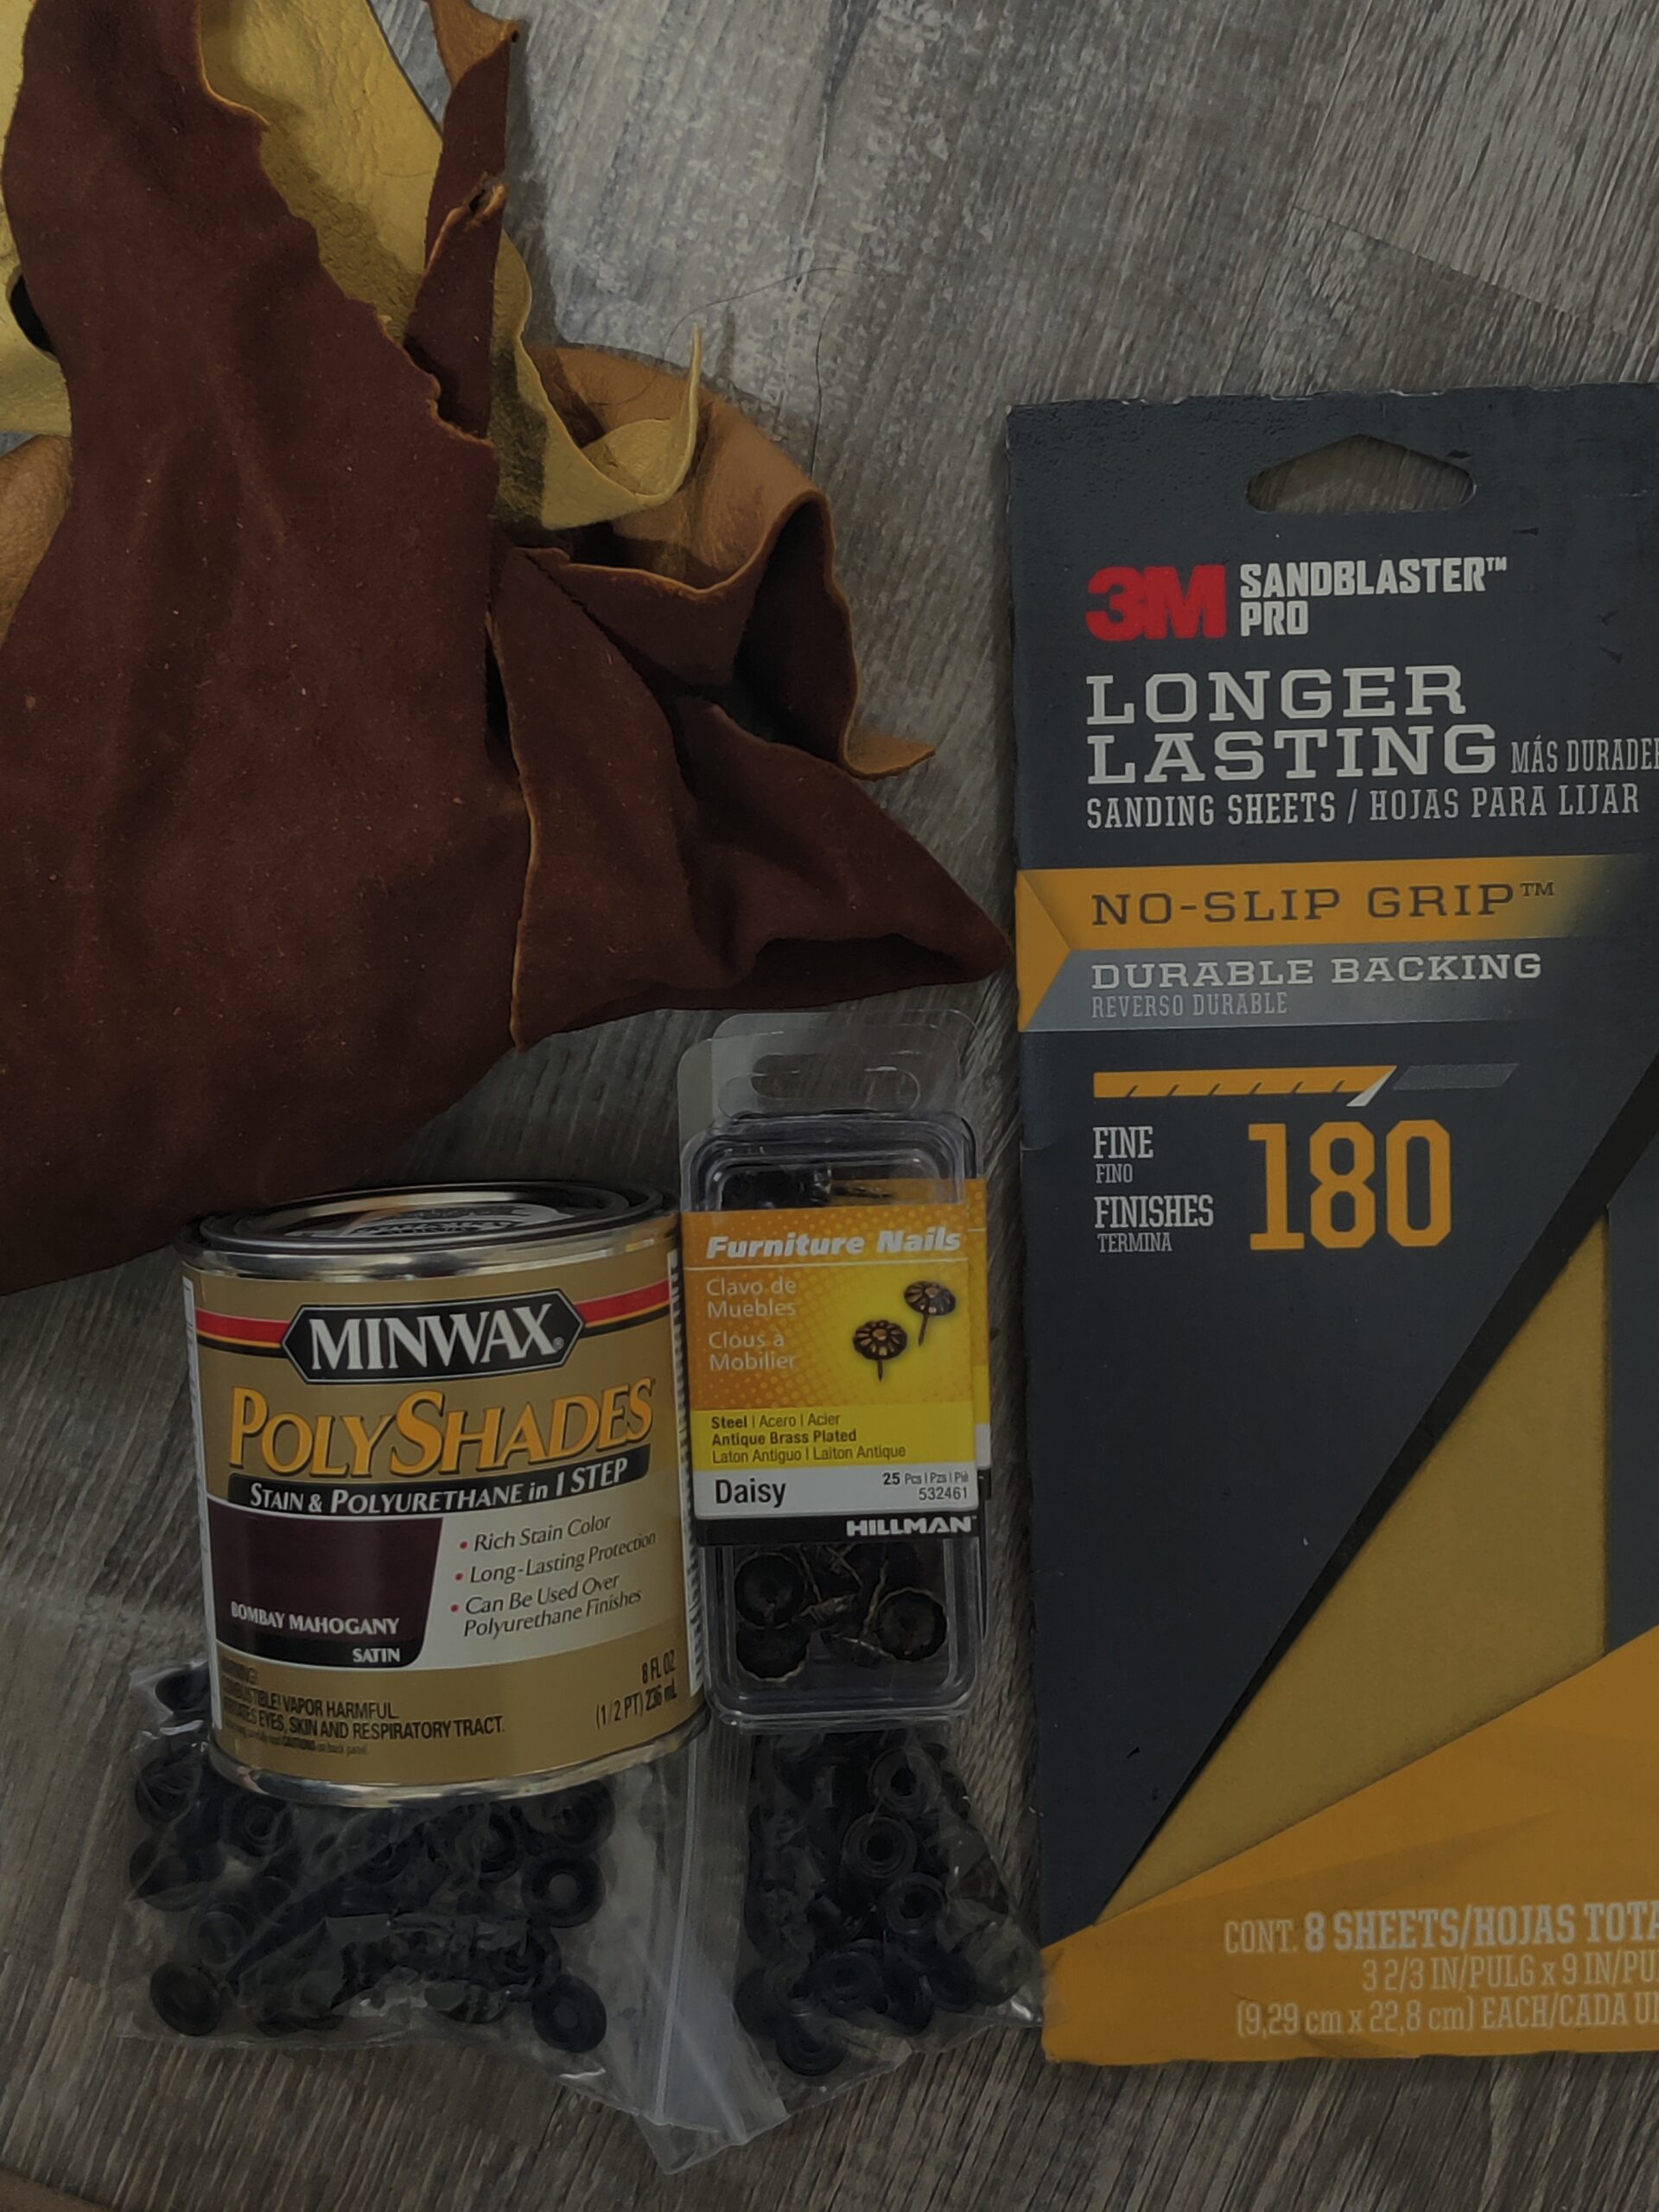
The next step is to sand the boards down for staining (you can do this before securing the boards, if you like). Pro tip: putting the boards on sawhorses is easier on you back, but a work bench or old table will suffice, too. I used a medium grit sandpaper to roughly hand-sand it. A palm sander works great as well. Make sure you sand with the wood grain.
There should be no excess saw dust left on the boards from sanding (vacuuming the boards works best) before you move on to the next step of staining the boards.
Use an old rag or foam brush to apply the first coat of stain. It’s helpful to wear gloves during this part, since the oil-based stain doesn’t wash off your skin easily. You can use a paint thinner rag to clean any stain that gets on your skin. Be sure to let the stain and thinner rags dry outside, and then seal them in a plastic bag before disposing of them. Both are flammable and throwing them straight in the trash can start a fire.
Let the first coat dry for at least 6 hours. After that, you can apply a second coat of stain if needed. The more stain applications, the darker the wood will become. Once your final coat of stain dries, sand the boards again, and vacuum. You can apply a polyurethane coat over the stain with a 2-inch painter’s brush. Just make sure to coat the boards evenly. Anything you skip will stick out like a sore thumb once the boards are dry. I used an all-in-one stain that included a clear coat to eliminate multiple steps.
Hang Your Bow Rack Correctly
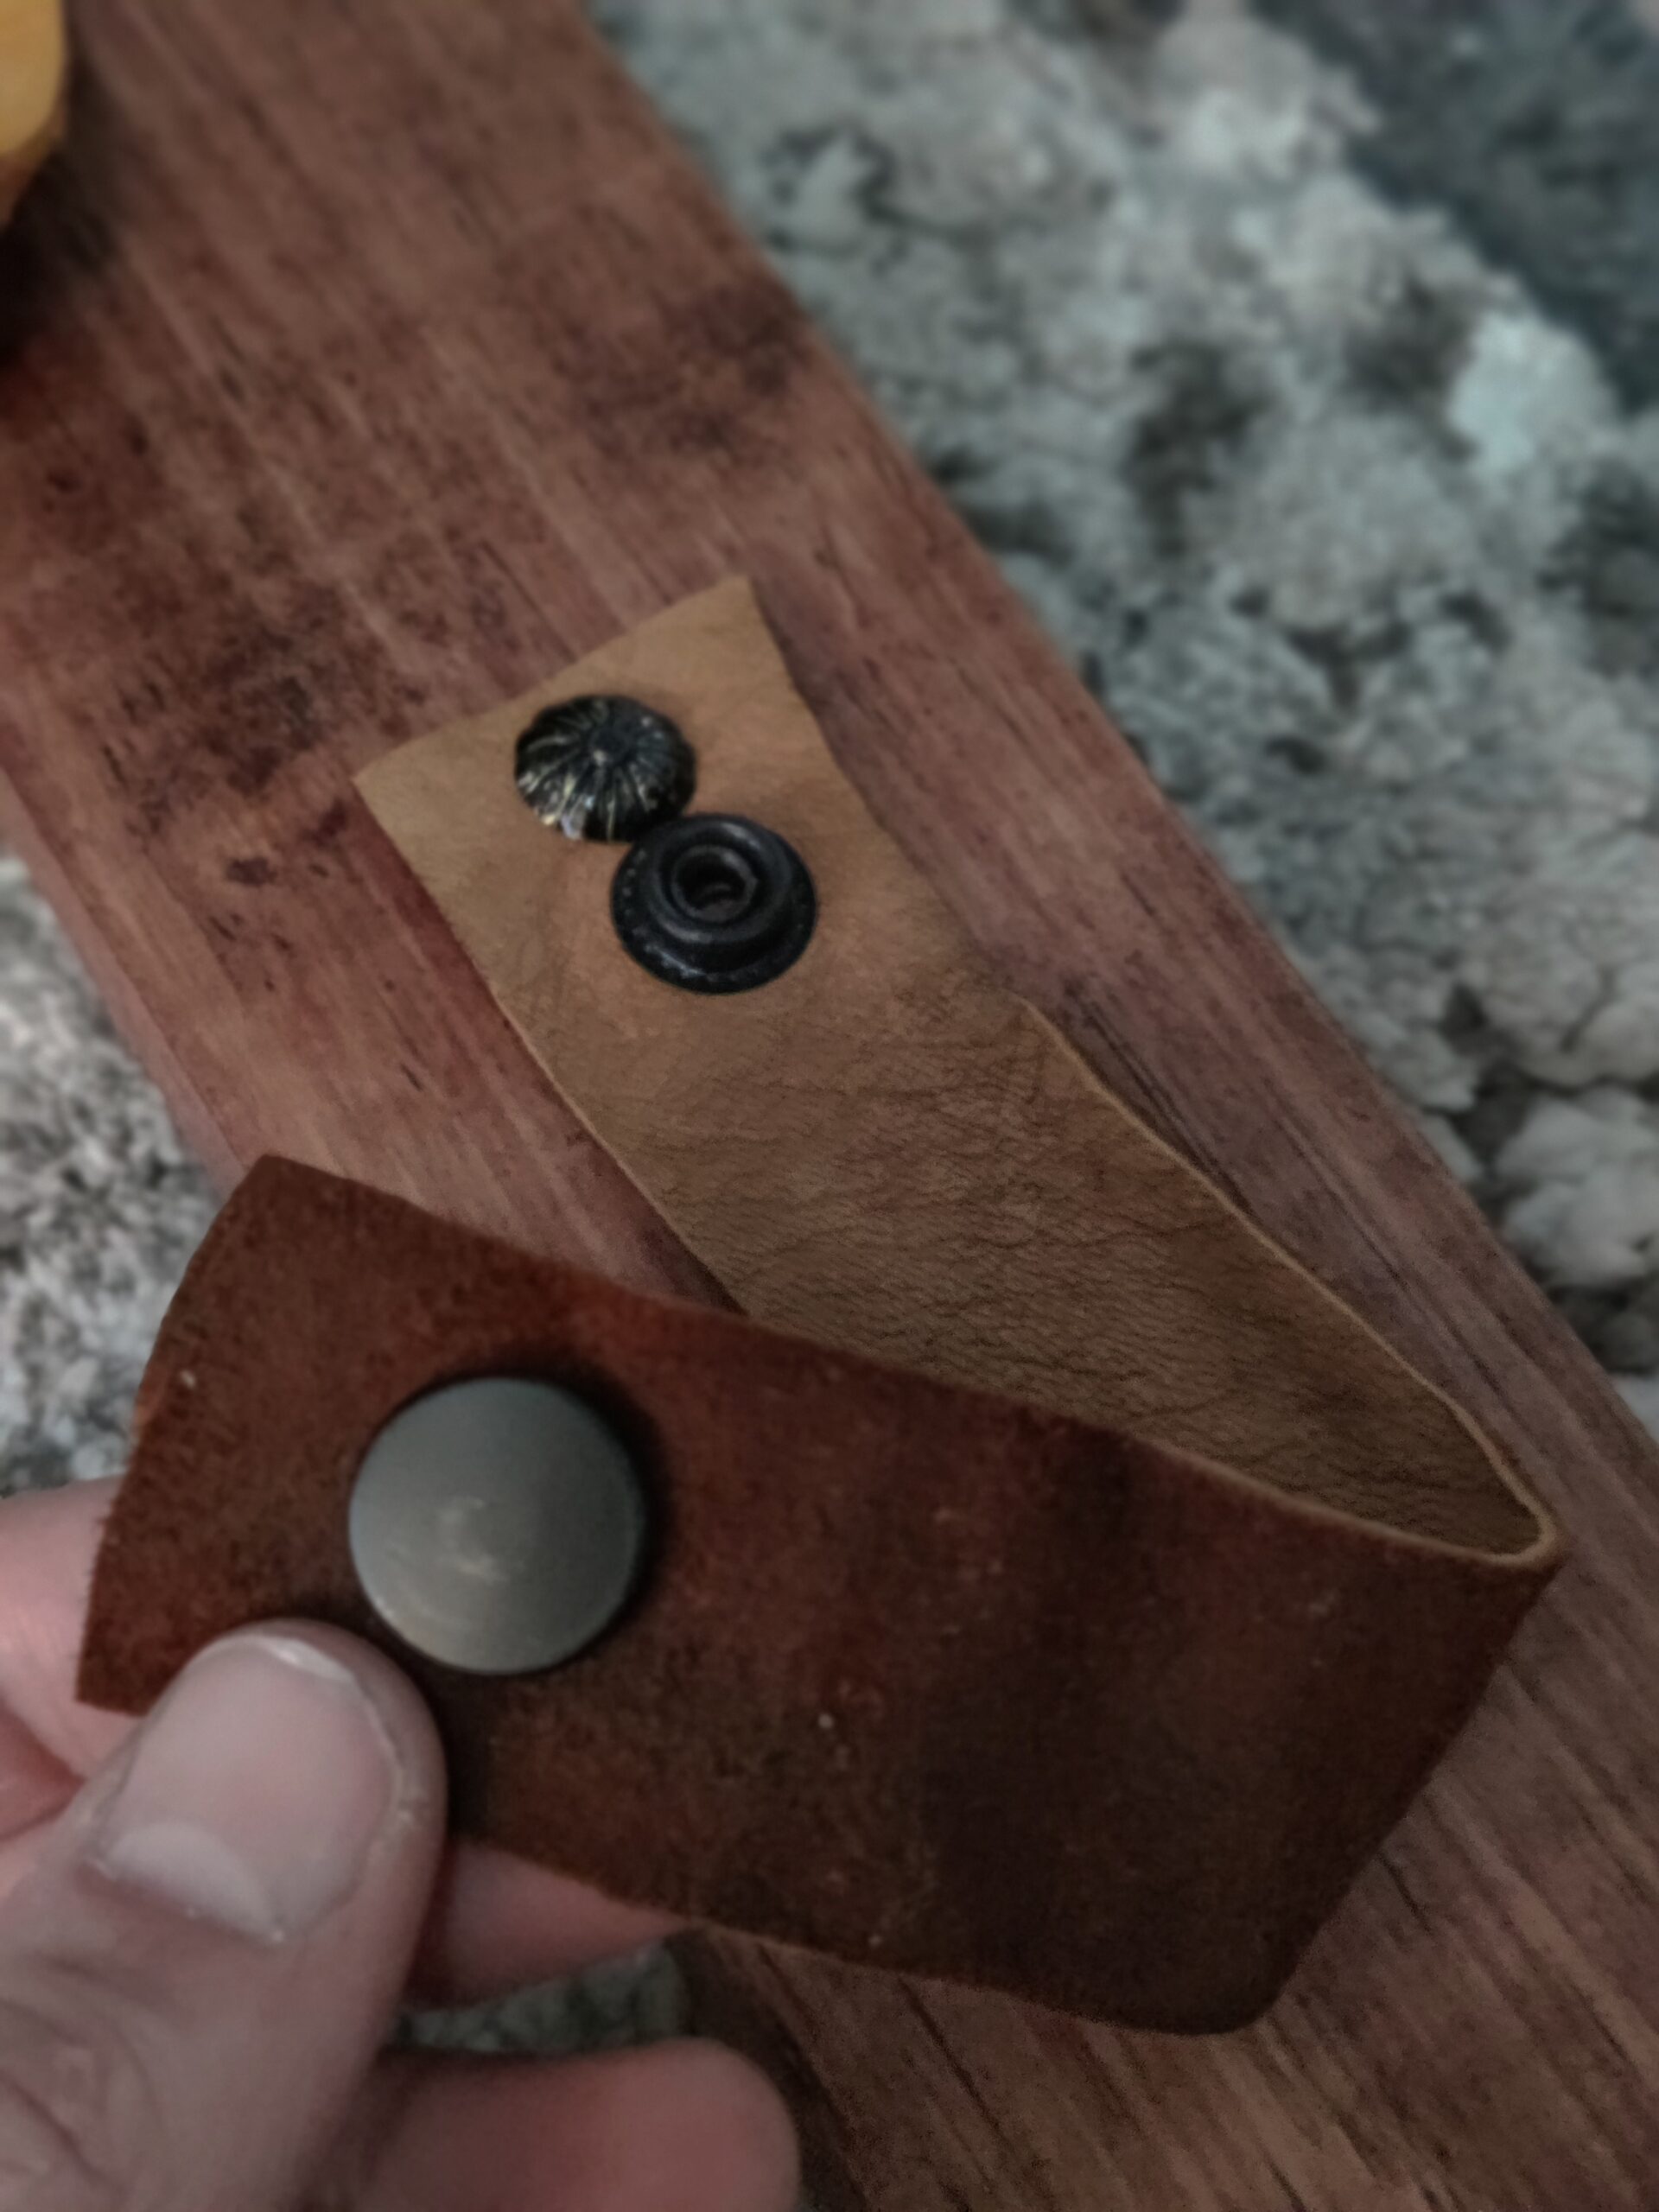
Once your rack is dry, it’s time to add the leather straps. No matter what type of bow you are hanging on your rack, make sure the straps are long enough. Measure as many times as you need to ensure that your straps will fit around your bows.
Next, add your snaps to the leather straps. The male snap goes on one end and the female snap on the other. Leave about 1 inch of space on the frame-end of the leather strap so you can nail it to the board. Fair warning: This was the most time-consuming part of the project because it required so much measuring. I certainly could have skipped the snaps, but I knew they would be nice to have. If you are making this rack for traditional bows, you can opt to skip the snaps and simply nail your straps in one loop to the board. It’s relatively easy to slip your bows into and out of the straps. If you are making a rack for compound bows and choose to go with leather straps, you cannot skip the snaps. however, you could opt for bicycle hooks or a similar alternative. Think outside the box, and use what works for you.
Once you get your snaps into the leather, measure both sides of the bow rack so the placement of the straps are even. Work your way down each side of the bow rack and mark with a pencil where each strap will be placed. Remember to adjust the distance between each according to the type of bow you’re planning to hang. Again, I left 5 inches between straps, but you may want to use up to a foot or more between compounds. Then, use your upholstery nails to tack in the leather straps.
Once the leather straps are finished, decide if you want to place anything else on the rack as decoration. I added a vintage cedar arrow at the top of my bow rack and vintage prints on the wall behind the rack. This is a simple bow rack that is budget friendly and highly functional. If you’re looking for a project this offseason, it’s a worthy investment of your time.

