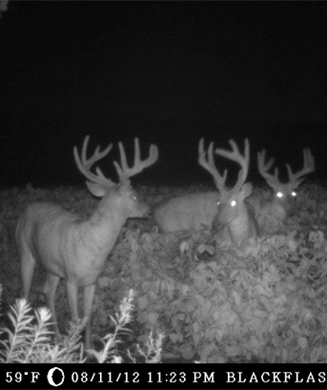
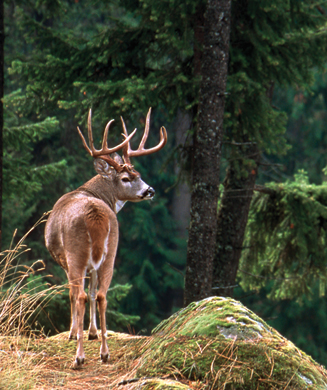
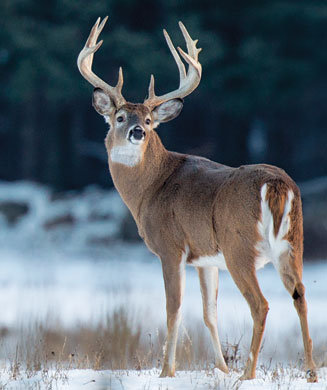
We’ve seen an absolute explosion in trail camera popularity in the last five years. Yeah, trail cams are fun to use, but when utilized correctly they can dramatically increase your chances of taking a mature buck. They are used by just about every serious hunter and deer manager I know and they’re probably the most important advancement in deer hunting equipment since the compound bow. Here’s what my son Neil Dougherty and I have learned in the last decade about setting up trail cameras and analyzing photos to take mature bucks.
Camera Placement and Set Up
You need to keep a few things in mind when setting up your cameras. First, you need to be totally familiar with their operation before going afield. Play with them in your living room first, and then run them for a while in the backyard. Walk back and forth in front of the camera at a variety of ranges (night and day) to see what sort of images they will produce. Practice aiming the camera. Targeting a little above your belt buckle is about right for moving deer.
Setting Up Cameras
Now you’re ready to actually set up the camera in the woods. Here are some pro tips to consider…
• Set camera 10-15 ft. from target area
• Set on a stout tree to prevent movement
• Set about waist high
• A solid dark background frames photos better
• Avoid “limby” backdrops that obscure antlers
• Clear brush near camera to avoid false trigger
• Face cameras north if possible (to avoid sun glare)
• Put a location identifier in the target area
• Avoid areas where fog collects
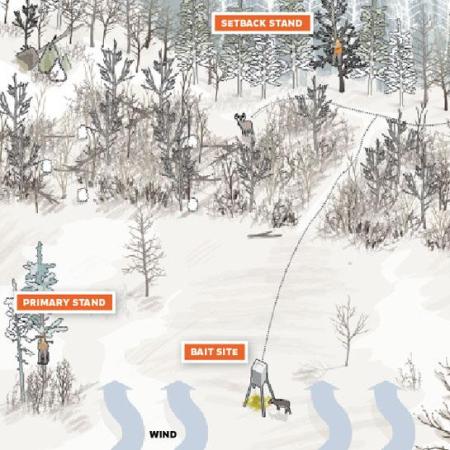
• Avoid setting up directly on stand sites, the cameras will alert deer
• Check operation and target acquisition
Taking Inventory
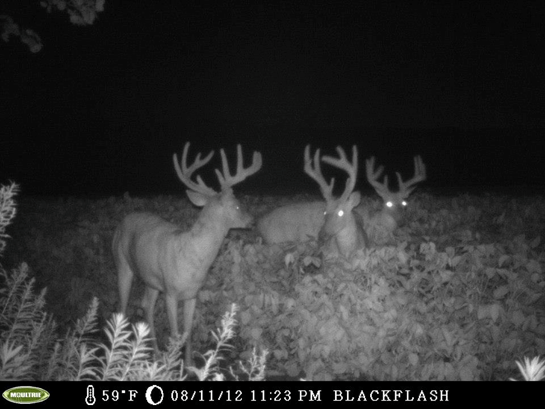
Most hunters want to target mature bucks. And most mature buck hunters believe in scouting, especially if you can do your scouting without disturbing the woods. That’s where scouting cameras earn their keep. Virtually every shooter buck we’ve had on our property in the last 10 years has shown up on camera sometime or another.
To effectively identify bucks, you should have at least one camera for every 50-100 acres. We start our hunting season camera work (around Sept. 1) by setting up as many cameras as possible on early-season feeding areas like food plots or fruit trees. Hard mast stakeouts can be trickier. If every tree in the woods is dropping acorns, it can be a real crapshoot. On the other hand, one acorn heavy oak among a sea of maples makes for a prime trail camera location. Travel corridors and staging areas are OK for camera work if you are not able to locate feeding areas. The trick is to get the majority of the bucks in your hunting area on camera as early as possible so you can begin to work the buck you want to hunt.
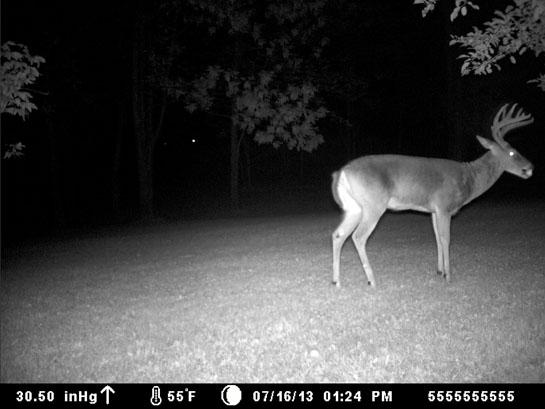
When “taking inventory,” our objective is to capture all the candidates on film and identify which bucks we want to take. This is where it pays off to have your camera set up correctly. There’s nothing more frustrating than getting a great buck on camera only to have the photo ruined by sun glare or a busy background. Now you can’t tell a 140-incher from a bunch of branches. We have one set-up area where the camera points north (no sun in background) and the target area has a dense stand of black spruce as a backdrop. It is “picture” perfect for evaluating bucks.
We keep a running log of all the bucks using the property. We keep a three-ring binder every fall with a mug shot list of sorts for each buck captured on film. Once we photograph a buck, we print a decent shot of the animal and file it away by estimated age. We build a “shooter list” for the season and refer to it often. The binder is a useful tool for guests as they can familiarize themselves with the shooter list.
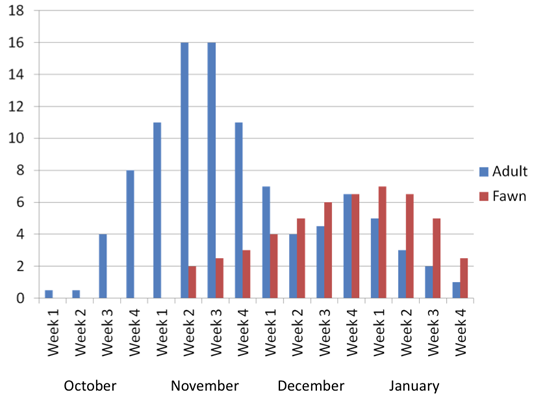
But taking inventory is not all about sizing up bucks. Hunters with an eye toward management will want to take a hard look at doe numbers and fawn recruitment. These indices will help you set realistic doe harvest goals.
Narrowing it Down
Once you have your “shooter list,” it’s time to go to work on narrowing things down. We like to try to catch a good buck on film before we go to work on him. By the time the hunting season starts, we have a rough pattern on bucks using our property. We know where and when they were photographed and how often.
If we can pattern a specific buck, our chances of taking him are a whole lot better. Hopefully we can catch him a couple of times on different cameras. The more times you photograph a deer, the easier he will be to pattern. If we are lucky enough to catch him a time or two, we mark him on an aerial photo or topo map and make some notes to document the event.
If you move a few cameras around and you begin to catch the buck more often, you’re likely closer to his core area. If you move cameras around and don’t catch him at all, that tells you you’re likely moving away from his core area. Plot all sightings and look for a travel pattern or at least an area where he seems to be spending time.
Photographing a “shooter” one night in a two-week time period doesn’t necessarily mean that buck is using your hunting area. On the other hand, if you photograph him once on the ridge, twice on the cornfield, and twice near the swamp, you might be on to something. Study the direction he is moving in, and analyze his behavior. Is he “on the march,” maybe just moving through the area? Or, is his head down feeding? How long did he hang around? Was it day or night and what time of day or night? Was he a one-photo wonder or did he stand around posing for 20 minutes? Was he alone, with another buck running buddy, or maybe a doe?
Study all the pictures for any clue of where he has been or where he is going. Form a hypothesis on why he is in front of your cameras at that given time and you’re one step closer to patterning him. We can tell how tough a buck will be to kill by how he acts in front of the camera. It’s a lot easier to intercept a buck that hangs around in a small territory where you photograph him once, maybe twice per day, than a buck that swings through every week or two.
When you’re confident you know as much as you can about him, make your plan and make your move when the season starts.
Editor’s Note: To learn more about how Craig Dougherty and his son Neil Dougherty use cameras to kill mature bucks, order their new book Whitetails: From Ground to Gun
