Regardless of what brand of bow you shoot, nearly all of today’s compounds are capable of incredible accuracy at ranges beyond 40 yards. Of course, just because a bow is capable of making a long shot, doesn’t mean you are.
Some archers may never need to make a shot beyond 40, and that’s fine (in fact, you should not be shooting beyond 40 yards in many deer hunting situations). However, if you hunt the West and are looking to punch your tag on elk, deer, pronghorn, or bighorn sheep, it can be very beneficial to learn to shoot your bow accurately out to 60 yards. Oftentimes, you simply won’t be able to get any closer to those animals due to the wide-open landscape you will likely be hunting. And even if you’re only going to be taking close-range hunting shots at whitetails, practicing at longer ranges helps improve your shooting overall.
Here’s how to dial in your compound bow and how to practice making those long-range archery shots.
Pick the Right Stabilizer For Your Compound Bow
If you’re planning to shoot at longer distances, make sure your bow is set up to do so. First, and arguably most important, is to tune the stabilizer weight and length. A short, stubby stabilizer that measures under 8 inches will not get the job done. A longer stabilizer equates to better overall balance in a compound bow. You need to have a balanced bow, so you can hold steady, particularly in windy situations. You’ve seen tight-rope walkers use those long poles to balance themselves—this is a similar concept. A stabilizer system adds weight to your bow, so you can be more steady when you take a shot, much like a heavy-barreled rifle will make it easier to shoot a bolt gun more accurately. What we’re looking for here is for the bow to be perfectly balanced at full draw (meaning it’s not tilting forward, back, left, or right).
If you plan to run only a front stabilizer, I recommend one longer than 8 inches. All bows come with a pre-drilled hole in the riser to mount a front stabilizer. I also recommend adding and subtracting 1-ounce weights (most stabilizers come with them) to that stabilizer until you find which weight your bow holds best at. On a standard front stabilizer, there will be a threaded post that accepts these weights. You simply thread them on and off to add and subtract weight.
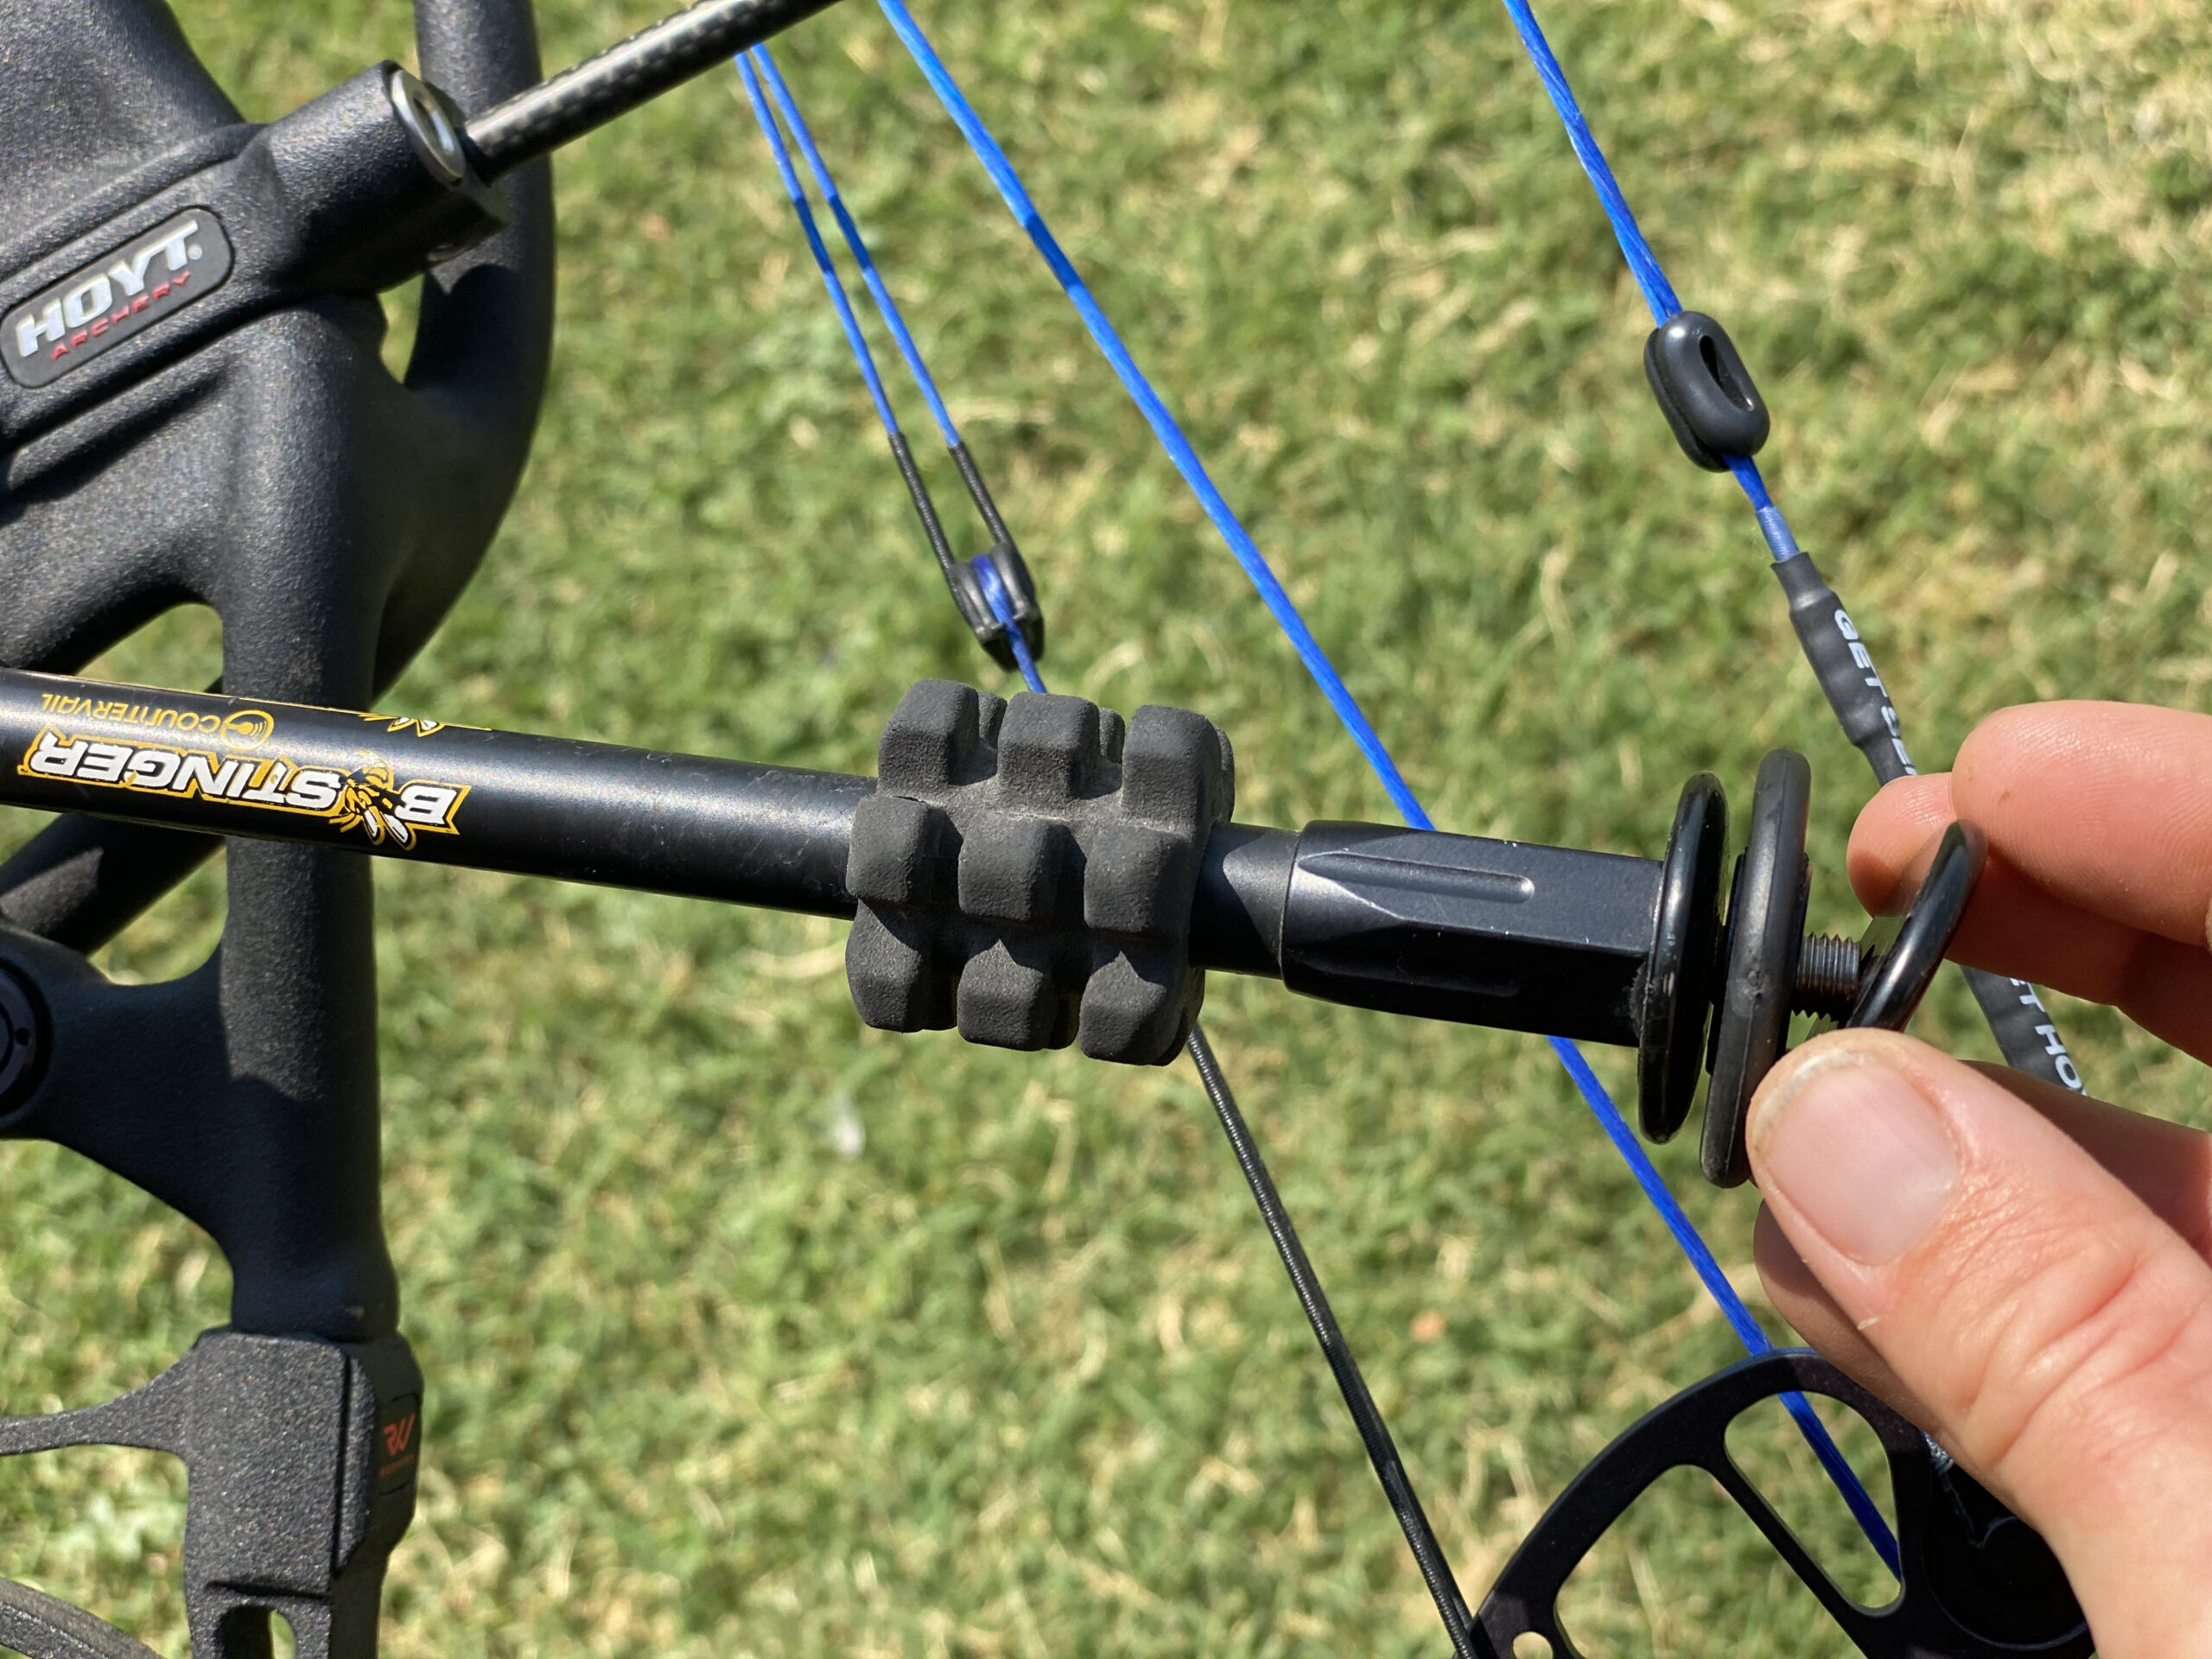
Another option is a counter-slide stabilizer, like Bee Stinger’s MicroHex Counter Slide, which allows you to distribute weight toward the front and back of the bow’s riser. The front and back of this stabilizer bar has threaded posts that allow you to add and remove weight. Take the time and shoot with this stabilizer set at different lengths to the front and back. It’s easy to adjust, and if you do the testing, you’ll find the perfect weight and length balance.
Another great stabilizer option, and my personal go-to, is the use of a front and back bar. I love Bee Stinger’s Sport Hunter Extreme Kit, which includes a pair of stabilizers and a fully-adjustable sidearm mount. If you buy a stabilizer with a front and back bar, you’ll need a mount, which is why I recommend this kit—it all comes in one box. I run a 10.8-inch stabilizer out the front of the mount and an 8.6-inch stabilizer out the back. This ups balance, especially when shooting in the wind, and helps offset the weight of a bow-attached quiver. My bow has more weight on the back bar than the front bar, but many archers prefer more weight on the front bar. Every bowhunter needs to try different stabilizer weights and lengths to find the combination that works best for them. One way to test this is to go to full draw, put your pin on target, close your eyes (while holding the bow as steady as possible) and then open them again. If your bow is consistently pulling left, right, up, or down, you know it’s not full balanced and you should add more weight on the opposite side to balance it. An even more simple way is to shoot your bow with different stabilizer configurations and weights and measure your groups. Go with the configuration that gives you the most balanced feel (at full draw) and the tightest groups.
You Have to Be Spot on With Your Sights
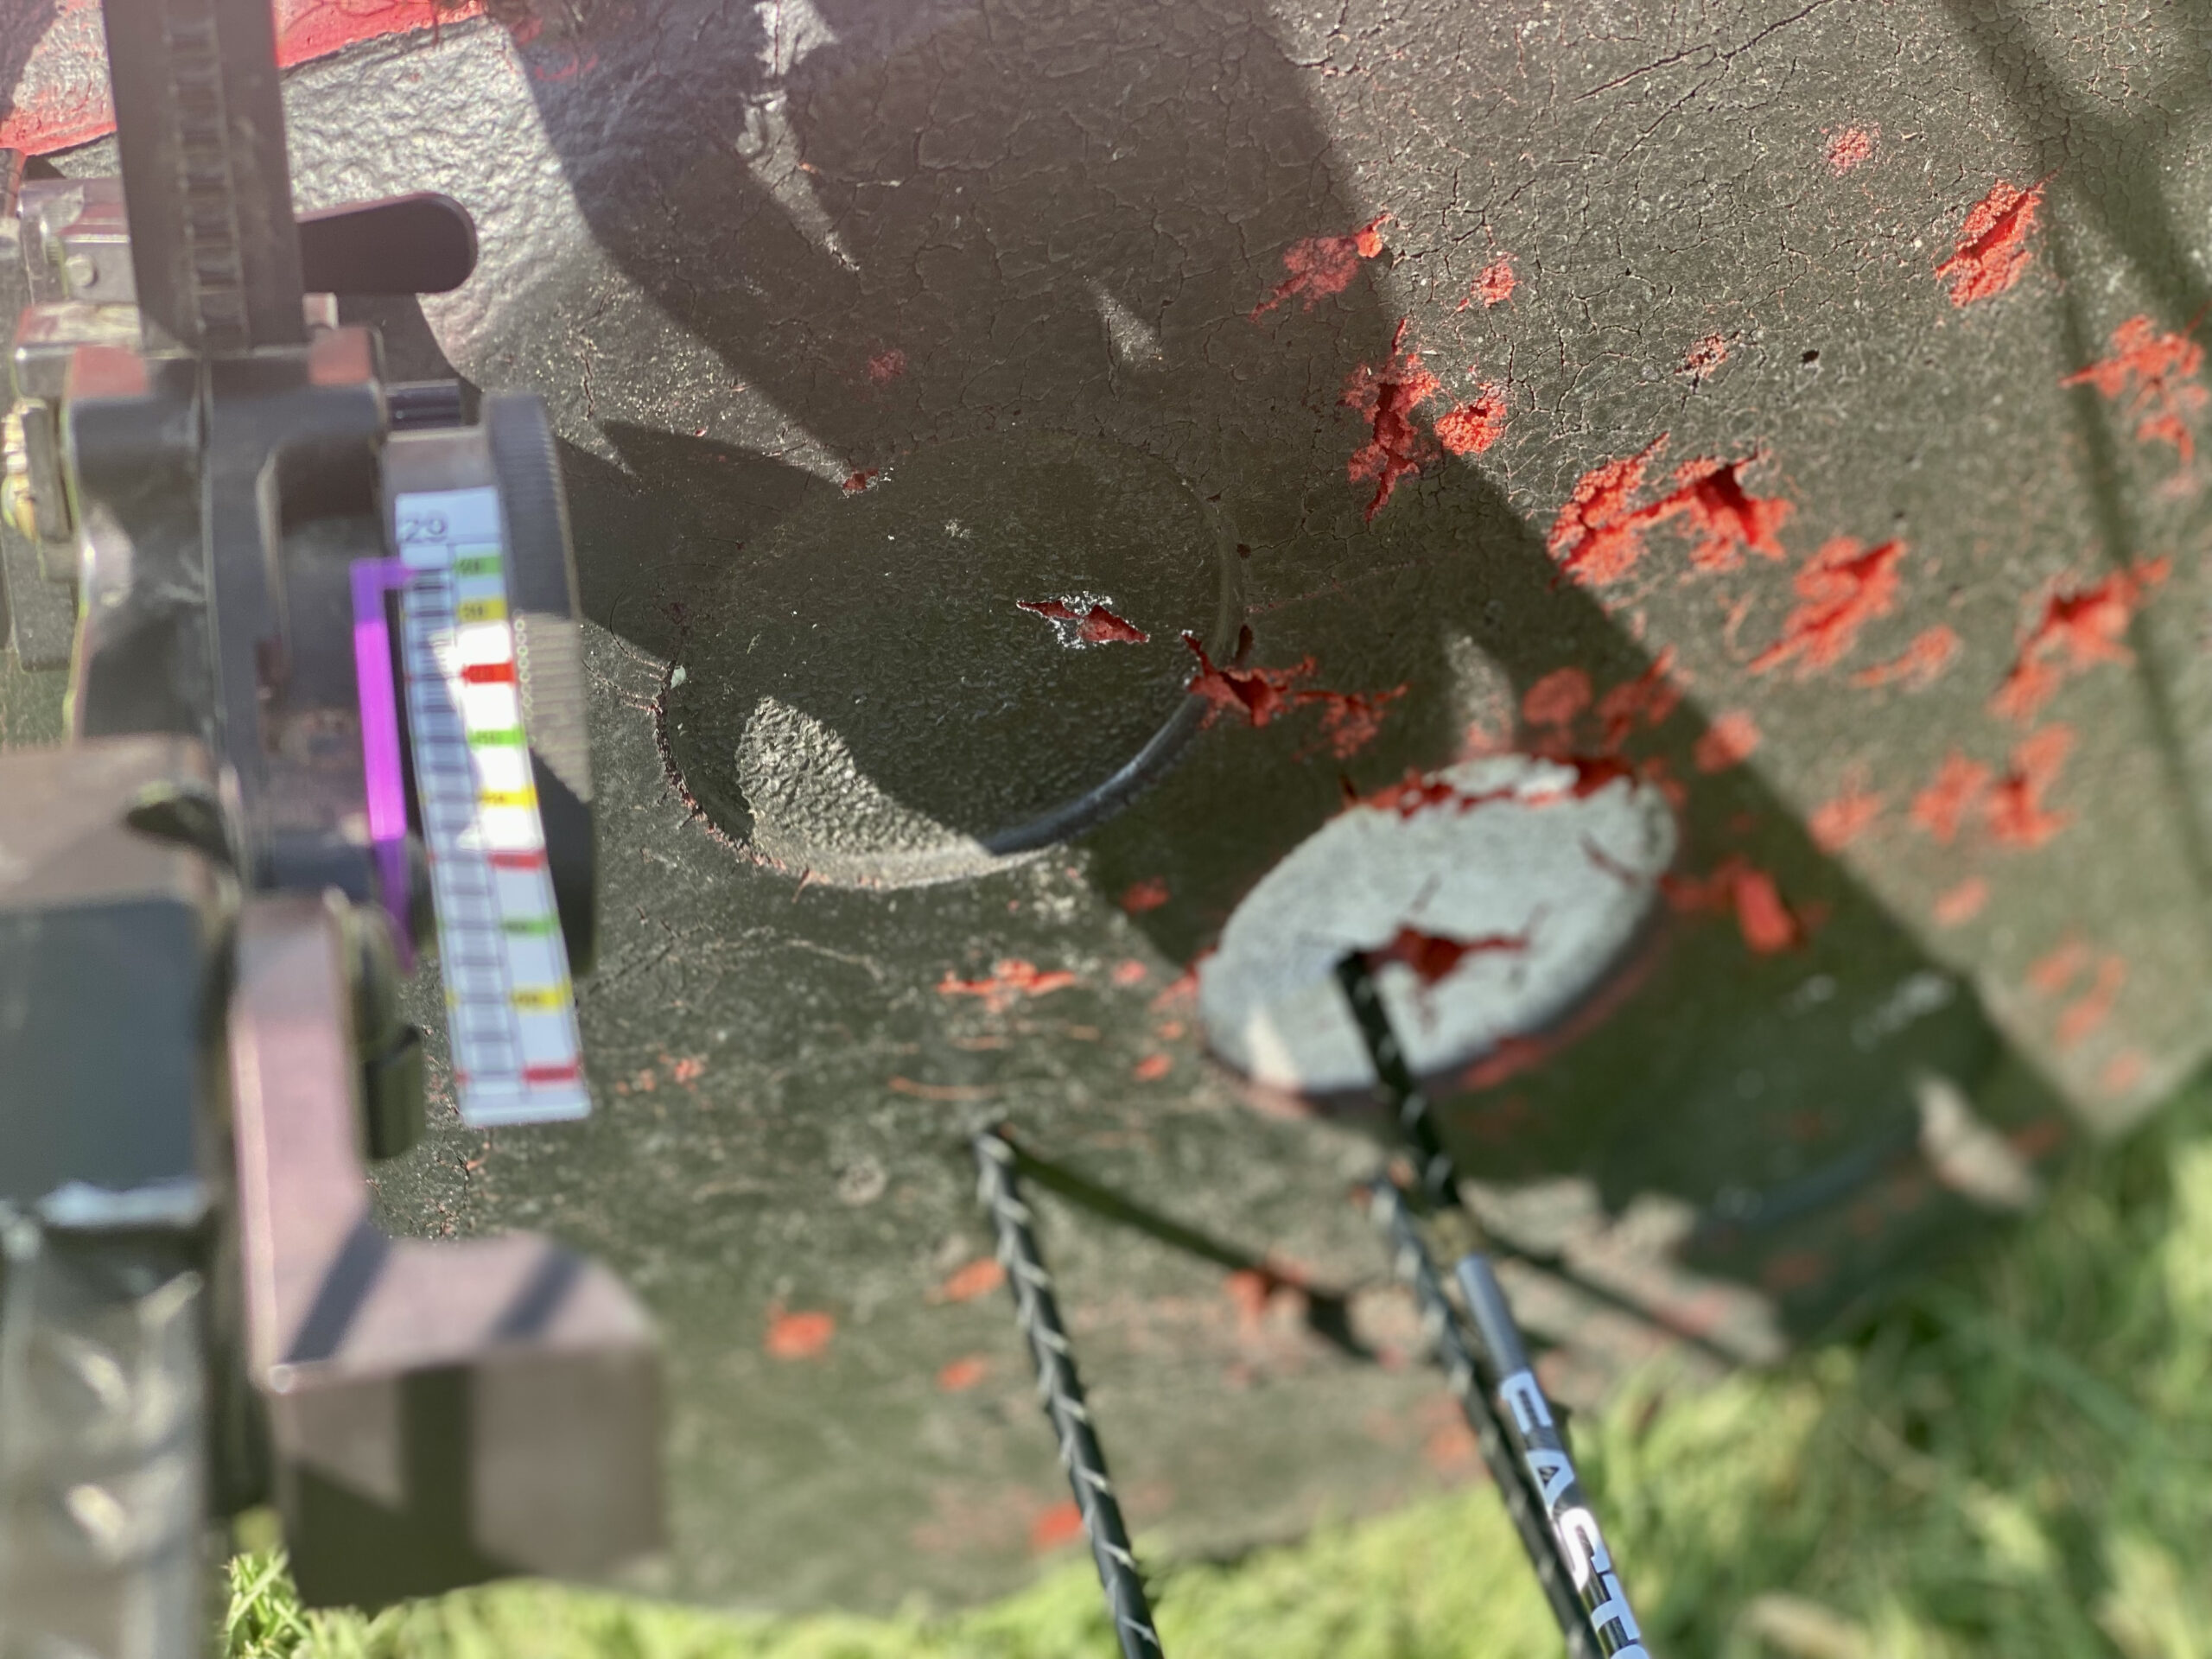
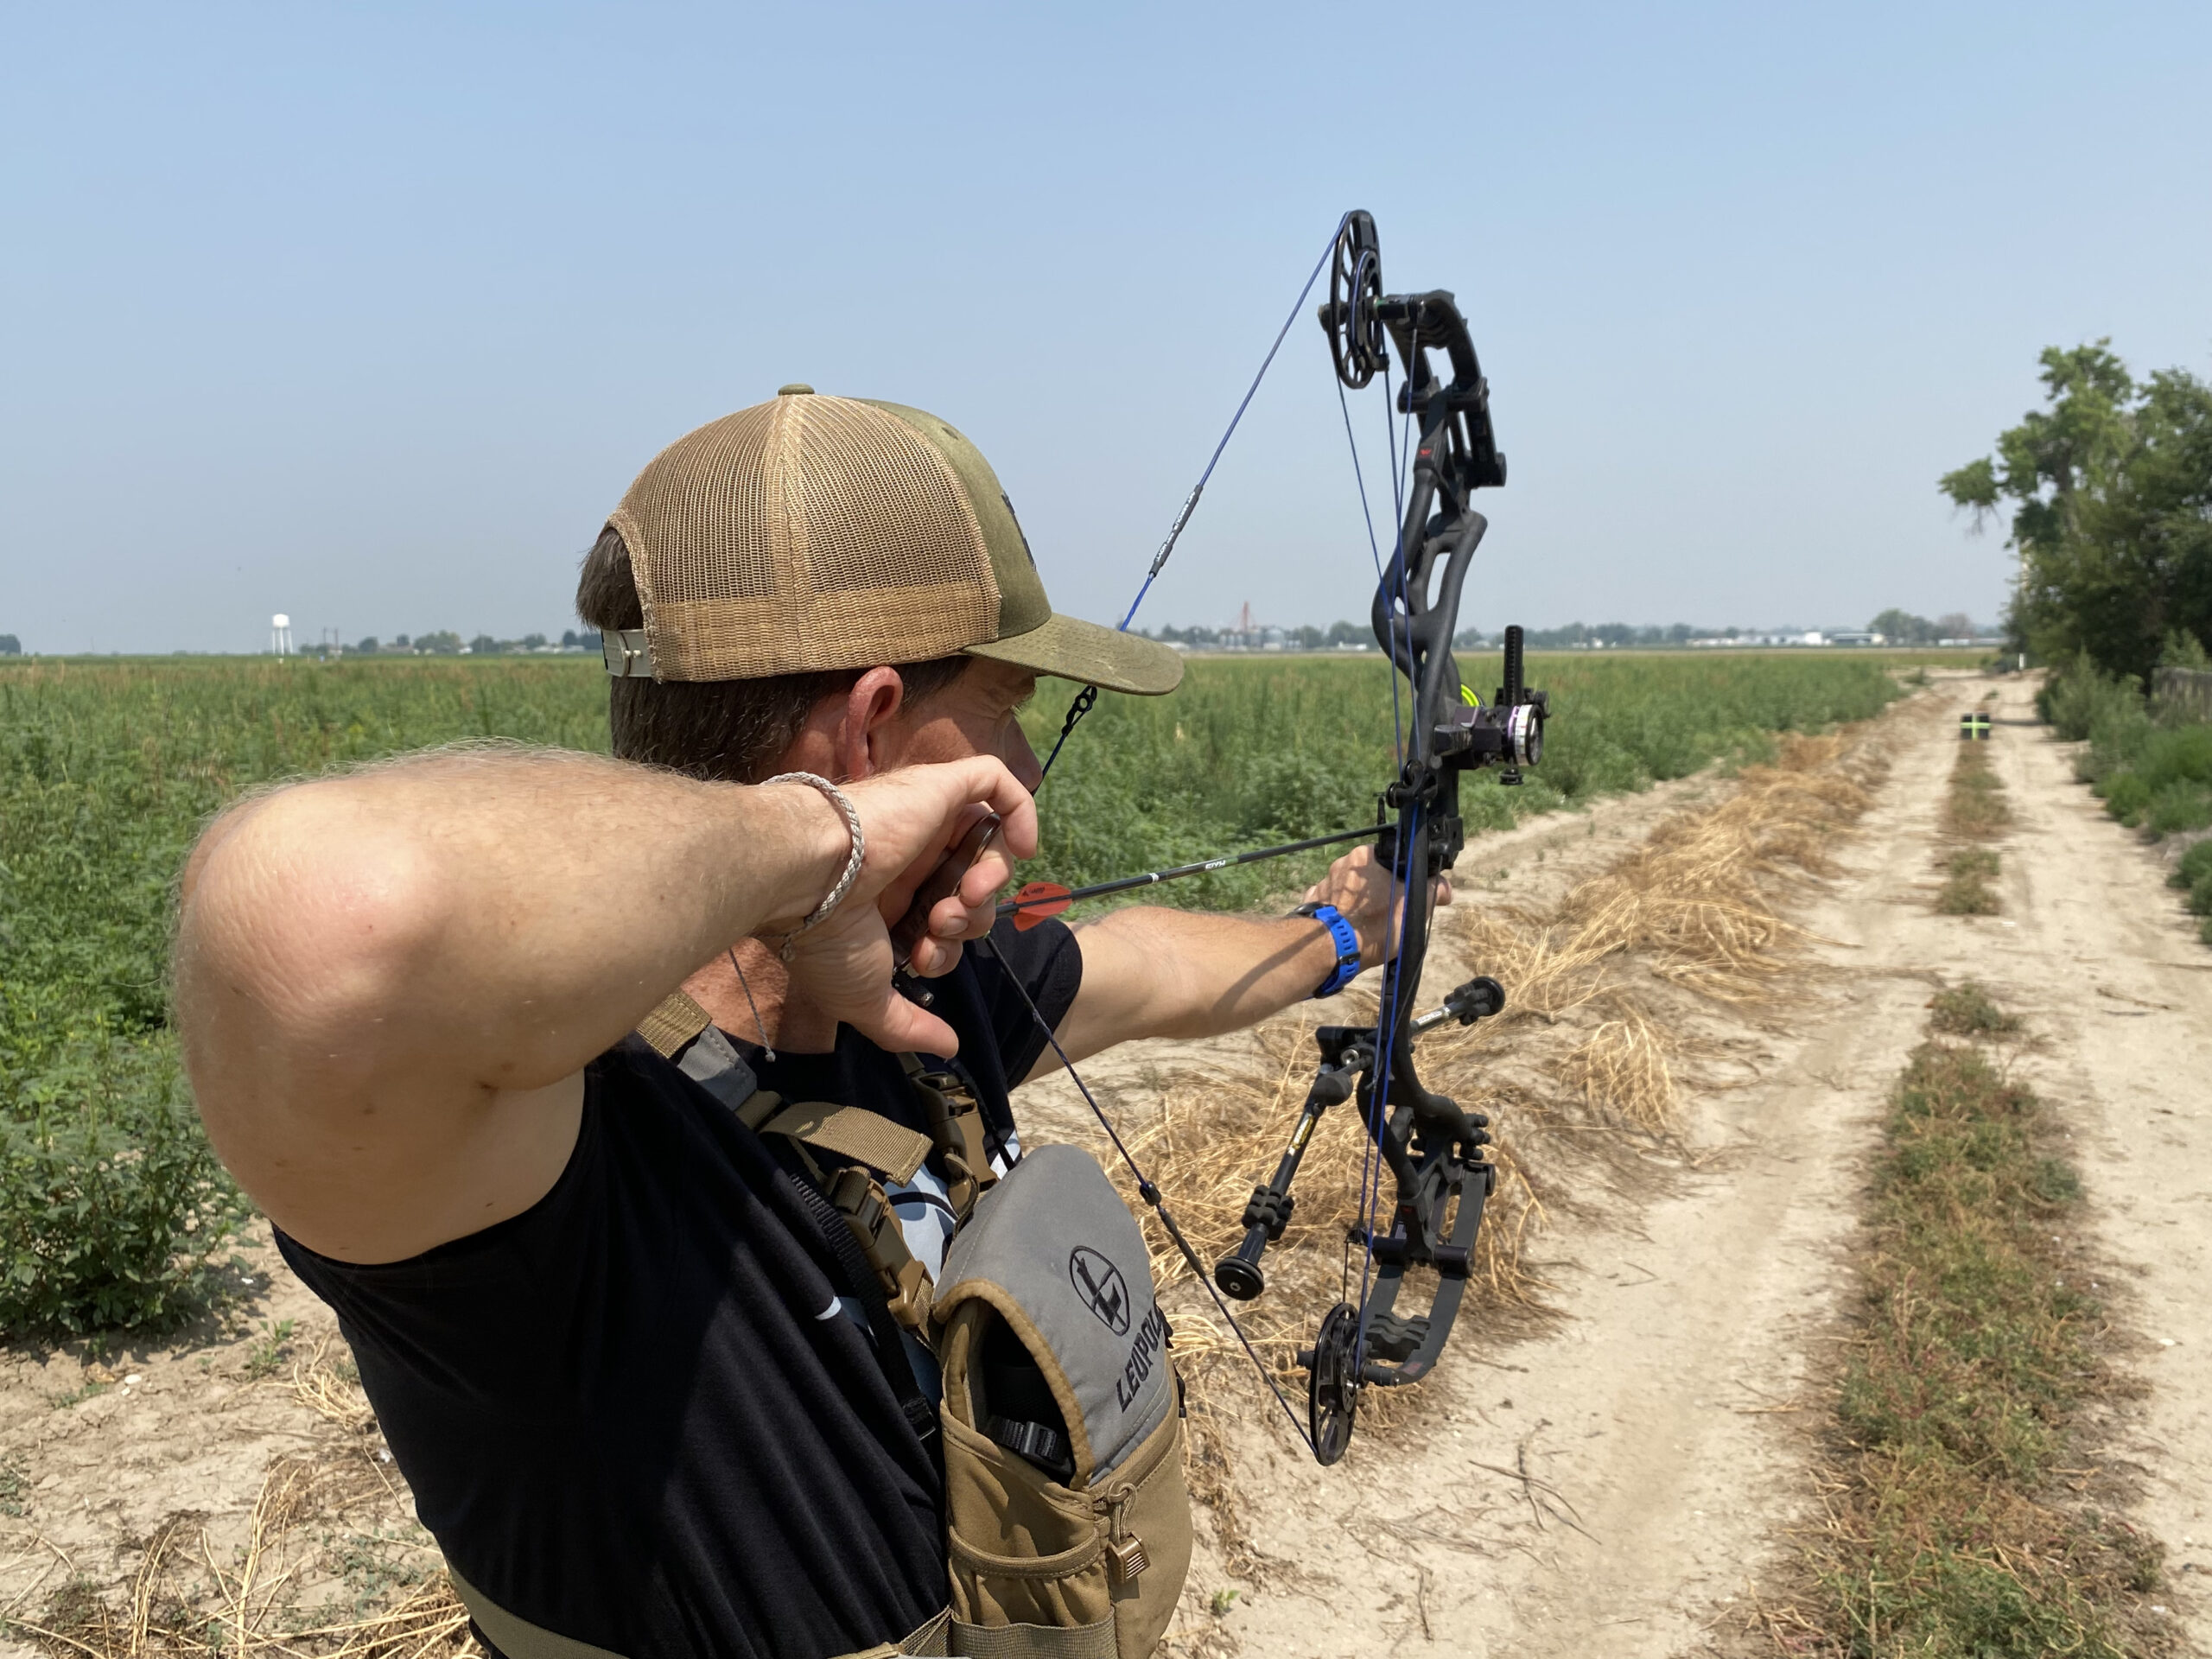
Your bow sight must be able to be dialed to the yard when shooting at distances beyond 40 yards. I prefer a single- or double-pin vertical post sight like Spot-Hogg’s Hogg Father or a three-pin horizontal post slider sight. Whatever sight you choose, it’s critical you spend time sighting in and finding the correct sight tape. Don’t do a speed test on your bow, make a sight tape selection, and call it good. Instead, take a blank sight tape and build your own using a Sharpie. However, most moveable sights come with pre-marked sight tapes and provide a detailed system for finding the right one. Follow this system strictly, and don’t settle until everything is perfect. If the shot is 58 yards, you want to be able to dial your sight to 58 yards and deliver an arrow inside the 10-ring on a paper target.
The Wrong Arrows Will Lead to Inaccuracy
Take a close look at your arrows. Are they spined correctly for the poundage you’re pulling? For instance, if you’re pulling 70 pounds and shoot a light 500-spine arrow, it’s dangerous—they can shatter upon release—and will also lead to serious accuracy issues. The heavier the weight you pull, the stiffer the spine needs top be, so take that into consideration when building a longrange bow. You will have to tune the spine stiffness to your bow in order to see which arrow flies best.
Some hunters believe arrow speed kills game more effectively and will shoot a lighter arrow. Others choose a heavier, slower arrow they think will penetrate deeper. I won’t side with either faction, but just know that shooting a micro-diameter arrow will cut through the wind and boost penetration. Also, every arrow shaft has some wobble to it once you let it loose. Lighter arrows pulled at higher draw weights are going to flex more, which could cause them to be more inaccurate the further away the target gets.
Read Next: How to Set Up the Ultimate Whitetail Compound Bow
Practice Longer Shots Than You Will Take During a Hunt
With your bow set up correctly, it’s time to go to work. You need to build confidence, and the best way to do this is to regularly practice 20 yards beyond your max hunting shot distance. If your max hunting shot distance is 60 yards, you should shoot 80 percent of your arrows from 80 yards.
Nothing will reveal imperfections in your form like shooting at long distance. When you can step on the range and put three arrows inside a cantaloupe from 80 yards, you’ll start to feel good about your shooting. Then, when you move up to 60 yards, you’ll find your groups are even tighter, and the target looks like it’s at 40 yards, not 60.
Another great tactic for boosting accuracy at extended distances is to shoot in the wind. One factor you can usually count on when hunting the West is a stiff breeze. The key is to let the release fire the bow. Your job isn’t to try and hold dead steady. Instead, learn to trust your pin floating over the target. Push the bow and pull your release until the arrow is gone. Stay focused and keep fighting for the target’s center, even though the wind makes it feel impossible. You must train your mind to make the best shot you can, regardless of the conditions.
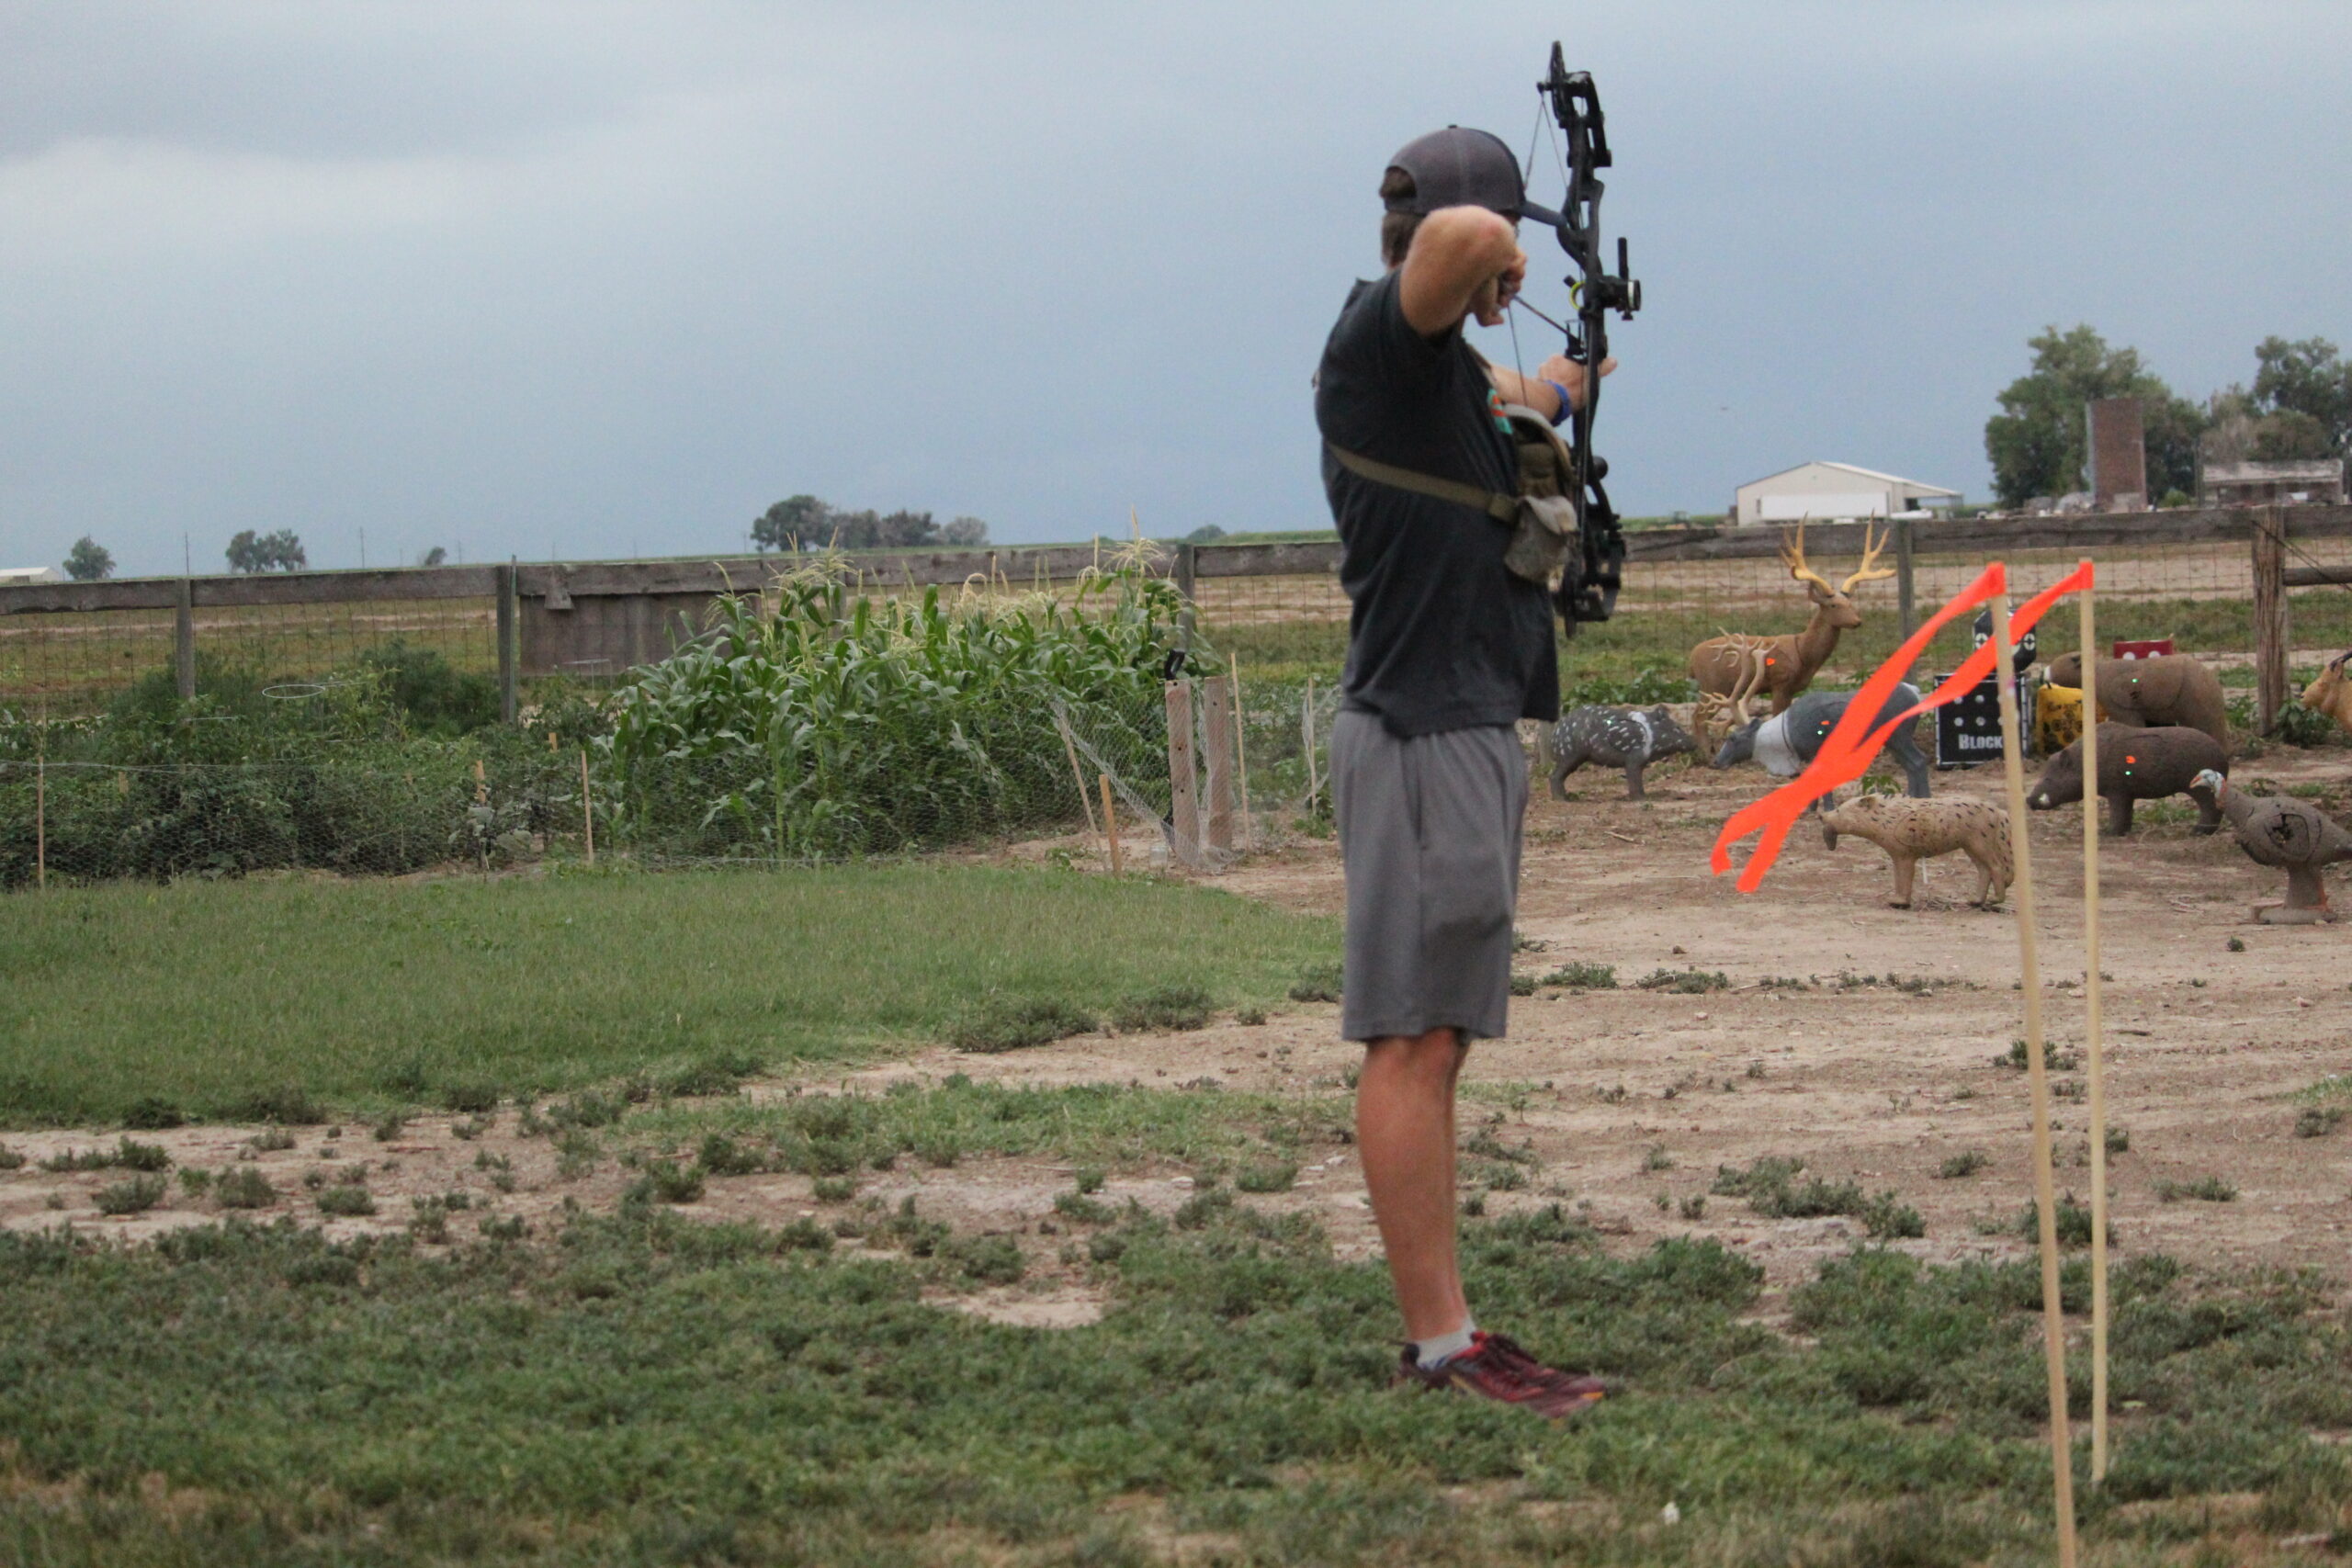
Another sure-fire way to become a better long-range bowhunter is shooting at up and downhill angles at a distance. Tote a foam target into the field when you are scouting and set that target at ranges of 60, 70, and 80 yards. Practice executing shots at steep angles similar to the locations you expect to find your target animal. This drill will show if your anchor points are consistent, and it will quickly reveal whether your sight’s third axis is set correctly. If you feel like you’re crawling into your anchor, bending at the waist, and making the best shot you can and your arrow is way off the mark left or right, it’s likely your third-axis setting is wrong. Each sight is different when it comes to setting the third axis. If you discover yours is off, and you don’t feel overly confident about how to fix it, visit your local pro shop, and let them handle it.
Practice shooting at odd ranges and continue to dial in your sight tape. Shoot random yardages—53, 67, and 76 yards; any distance that doesn’t end with a zero or five. Few things build confidence like proving your sight tape, and if you’re putting carbon on the mark day after day from any range on your tape, you’ll know your anchor points are consistent, and your shooting form is sound.
Once or twice a week, step out to 80 yards and fire a single arrow cold: no warm-up and no group shooting. When you can execute a kill shot from a distance with your first arrow of the day, you’re ready for hunting scenarios.